


Hydration Pack Insulation: Keep Water Cold on Every

You reach for the bite valve after a hot trail climb, a long queue at a theme park, or a dusty transfer between airports. The first sip should be refreshing. Instead, the water tastes warm, and the hose may be hotter than the reservoir itself. That experience is common because hydration pack insulation isn't a single feature. It's a system, and the weakest component usually controls the result.
A practical setup has to manage heat entering through the pack fabric, reservoir compartment, hose, bite valve, seams, and unused air space. It also has to deal with condensation in warm conditions and freezing exposure in alpine cold. The right design won't refrigerate water all day, but it can make a long outing noticeably more comfortable when paired with sensible loading, shade, and maintenance.
Why Your Hydration Pack Fails to Keep Water Cold
The problem usually reveals itself at the worst moment. You've been walking across an exposed trail or moving through a crowded amusement park, and the reservoir still feels protected inside the pack. Then the first mouthful arrives through a hose that has been sitting in direct sun. The water isn't necessarily hot throughout the bladder, but the exposed section has already surrendered the refreshing temperature you wanted.
That's why an insulated label can be misleading. A reservoir compartment may have a useful thermal barrier while the drinking tube crosses an unprotected shoulder strap. The bite valve can warm even faster because it sits outside the pack, close to the sun and your body. Air gaps inside the compartment create another weakness, allowing warm air to circulate around the bladder instead of keeping the insulation evenly engaged.
Insulation evolved from a carry solution
The early history of the category makes the design problem clear. In 1989, CamelBak founder Michael Eidson adapted an IV-bag drinking setup into a sport-specific hydration system and soon introduced the Thermal Control System, or TCS, combining a plastic bladder, insulated tube, and bite valve. The original improvised arrangement used a tube sock and clothespin, a reminder that the first goal was convenient drinking, not complete thermal control. Carryology's history of CamelBak's reservoir development documents how insulation became a distinct product feature rather than part of the earliest design.
That progression matters for today's buyer. Insulation appeared in response to heat management, cleanliness, and usability demands in endurance sports. Later systems added insulated sleeves around reservoirs and tubes, turning a simple bladder into a coordinated thermal package.

The weakest link decides the sip
Think of the system as a chain:
- Reservoir compartment: Needs meaningful foam coverage and limited heat exposure.
- Hose: Should be shielded from direct sun and body heat.
- Bite valve: Needs a cover or protected position because it's the most exposed drinking component.
- Closures and seams: Must limit air movement and leaks.
- Pack placement: A shaded interior position performs better than an exterior pocket in full sun.
Independent reviews make the same broader point: a sleeve that protects both the reservoir and tube can outperform a bladder with insulation built into the vessel alone, and the valve and hose still need protection because they can warm or freeze first. Wirecutter's hydration-pack review treats insulation as a system-design question rather than a simple yes-or-no specification.
Practical rule: If the hose and valve are exposed, upgrading the reservoir alone may improve the stored water while leaving the first sip disappointing.
Understanding the Multi-Layer Insulation Stack
Effective insulation works by slowing several paths for heat transfer. The practical stack has three layers: a water-resistant outer shell, a closed-cell foam core, and a reflective inner liner. Each layer handles a different problem, so removing one can create a performance gap even when the remaining materials look substantial.
The shell limits moisture and abrasion. The foam creates distance between the warm outside environment and the reservoir, while closed-cell construction resists water absorption. The reflective liner reduces radiant heat gain, particularly when sunlight reaches the pack or sleeve. Packaging research found that adding aluminum foil to the internal liner improved thermal performance compared with standard polyethylene-insulated packages, with close agreement between thermal modeling and experimental results. The packaging study in Packaging Technology and Science supports the value of a reflective barrier rather than treating foam as the entire solution.
What foam thickness buys you
Field guidance associates different foam constructions with distinct cold-retention windows. These are practical expectations, not promises of refrigeration, because water temperature also depends on starting temperature, sunlight, ambient heat, refilling, and how often the reservoir opens.
| Foam Thickness | Configuration | Cold Retention (Hours) | Best For |
|---|---|---|---|
| 3 mm | Entry-level foam sleeve | About 6 | Short outings with shade and easy refills |
| 5 mm | Foam layer with reflective liner | 8–12 | Day hikes, travel days, and exposed walking |
| 8 mm | Thicker foam with gel packs | 12–24 | Extended heat exposure where extra bulk is acceptable |
The guidance behind these benchmarks also identifies the main failure points. Thin single-layer sleeves lose performance quickly under direct sun, while thicker closed-cell foam and reflective barriers slow both radiant gain and conductive transfer. Conductive bridging happens when heat can travel around the insulation through seams, straps, fittings, or compressed areas.
Air gaps and sunlight matter
A loose sleeve with large empty spaces may look insulated but can allow internal air movement. A snug fit around the reservoir gives the foam a better chance to work consistently. The outer layer should also limit direct radiant exposure, because a dark pack sitting in full sun can overwhelm a light thermal barrier.
The best construction therefore combines thickness, reflective coverage, fit, and hose protection. Buying based only on the word “insulated” skips the details that determine how long the water remains pleasant to drink.
DIY and Commercial Insulation Methods That Work
You can improve an existing hydration setup without replacing the whole pack. Start with the reservoir compartment, then treat the hose and bite valve as separate projects. A cycling guide describes an external sleeve made from closed-cell foam as a simple way to reduce heat transfer around a reservoir and keep fluids cooler for longer. BikeRadar's hydration-pack cooling guide provides the basic DIY direction.
A practical DIY build
Measure the reservoir before cutting anything. The insert should surround the bladder without forcing a sharp fold or pressing against the closure.
- Build the foam envelope. Use closed-cell foam around the reservoir, keeping the seams on the side rather than directly against the pack's hottest outer panel.
- Add a reflective face. Place reflective material toward the outside heat source, not randomly between layers. The goal is to reduce radiant gain before it reaches the foam.
- Close the gaps. Use a water-resistant outer sleeve or carefully secured seams so the insulation stays in contact with the reservoir.
- Insulate the hose. A narrow foam tube or purpose-made hose cover prevents the exposed drinking line from becoming the warmest part of the system.
- Shield the bite valve. Keep it under a shoulder strap, use a valve cover, or add a small insulated sleeve that doesn't obstruct the drinking opening.
Don't seal a damp bladder inside an airtight improvised pouch. Condensation and trapped moisture can create odor, soften materials, and leave the rest of your pack wet.

Commercial options worth comparing
Purpose-built insulated sleeves are easier to fit and often protect the reservoir and tube as a coordinated system. Look for a snug compartment, a reflective interior, coverage around the hose exit, and a closure that limits warm air exchange. A bladder with a small insulated panel but an exposed hose is less convincing than a modular cover that protects the whole route to your mouth.
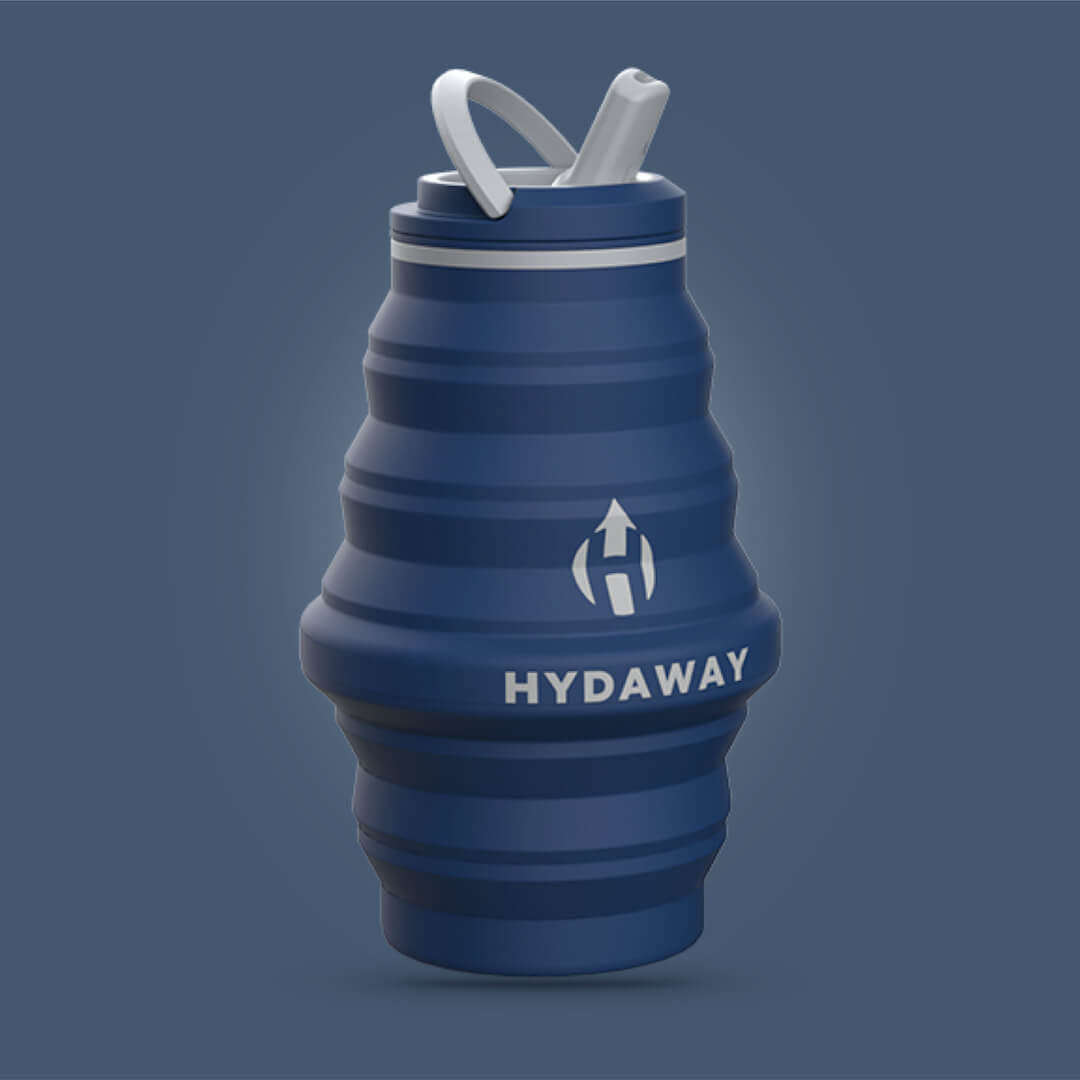
Commercial packs can also be more convenient when you refill frequently. Their trade-off is bulk, fixed geometry, and less flexibility once the reservoir is removed. Travelers who want something reusable but easier to pack may prefer a collapsible bottle plus a compact insulating layer for commutes, flights, and day trips. HYDAWAY's guide to keeping drinks cold without ice is useful when planning that modular approach.
For events, a separate reusable bottle may also suit people who value easy cleaning and recognizable drinkware. A resource on sustainable drinkware for football fans offers broader context on carrying reusable containers during matches and travel.
Seasonal Strategies for Hot and Cold Environments
Summer and winter ask insulation to do opposite jobs. In heat, you're slowing warming. In freezing conditions, you're preventing the hose and valve from becoming unusable. The reservoir may be protected while the drinking line fails, so seasonal preparation has to start with the exposed components.
Hot-weather routine
Begin with cold water. Independent outdoor guidance recommends pre-chilling the reservoir and adding ice before filling because insulation slows temperature change rather than stopping it. Crate Club's hydration-backpack guidance supports a simple sequence:
- Pre-chill the reservoir: Cool the empty bladder before departure where practical.
- Load ice before water: Ice gives the thermal barrier a colder starting point.
- Use shade: Put the reservoir toward the pack's interior and cover the pack during breaks.
- Protect the hose: Route it beneath a strap or add an insulated cover.
- Manage moisture: Let the system dry after use, especially if condensation forms inside the compartment.
Independent comparisons report about four to five hours of cold water in several insulated reservoirs under direct sun, while a top sleeve system kept ice from melting from afternoon sun until well past sunset. Other field reviews commonly report four to seven hours of cooling in hot weather when both the reservoir compartment and drinking tube are insulated. Backpack Judge's hot-weather hydration comparisons makes the practical limitation clear: the water can stay drinkable through a long outing, but the setup isn't an all-day refrigerator.

Cold-weather routine
Winter changes the priority. A frozen bite valve can stop hydration even when the reservoir remains liquid. After each sip, blow gently through the hose so water returns toward the reservoir, then keep the valve close to your body or under a protective cover. An insulated hose cover helps limit exposure, and a valve protector reduces wind and radiant exposure at the mouthpiece.
A sealed, gasketed valve or drawstring can extend cooling by about 30% compared with open vents, while enclosing the bladder in a laminate that limits convection and conduction can improve isolation by up to 15%. OutdoorGearLab's hydration-bladder testing and guidance also highlights condensation as a management issue. Non-insulated bottles may stop condensing within 20–30 minutes, while vacuum-insulated bottles can continue for 90+ minutes without intervention, so ventilation and moisture control matter alongside thermal protection.
For broader clothing and comfort preparation before a cold run or hike, Swift Running's cold-weather comfort guide is a useful companion. Winter travelers should also consider a collapsible backup bottle, especially when the primary hose is exposed or difficult to repair. The HYDAWAY ski hydration pack guide covers the same cold-environment planning from a pack-focused angle.
Integrating Insulation with Packable Adventure Gear
A traditional insulated hydration pack gives you convenient, hands-free sipping and a protected reservoir. It also commits you to a specific piece of luggage, a fixed bladder shape, and a component that can be awkward to clean or pack when empty. That trade-off makes sense for long hikes where frequent sipping matters more than luggage efficiency.
A modular system separates the water container from the insulation. You can use a collapsible bottle for a flight or city transfer, add a compact sleeve when temperatures demand it, then flatten the bottle when it's empty. This arrangement won't match a thick dedicated hydration system for sustained exposure, but it can be more practical for travelers moving between a hotel, train, trailhead, and theme park in the same day.
Choose by trip pattern
Use an integrated reservoir when:
- You'll drink continuously while moving.
- Your pack already has a dedicated insulated compartment.
- You have limited access to refills and need a larger carry system.
- Hands-free drinking is central to your pace or terrain.
Use a modular bottle and sleeve when:
- You're packing for multiple destinations.
- Empty storage space matters as much as full capacity.
- You'll refill at cafés, fountains, lodges, or visitor facilities.
- You want easier access for cleaning and sharing water with a companion.
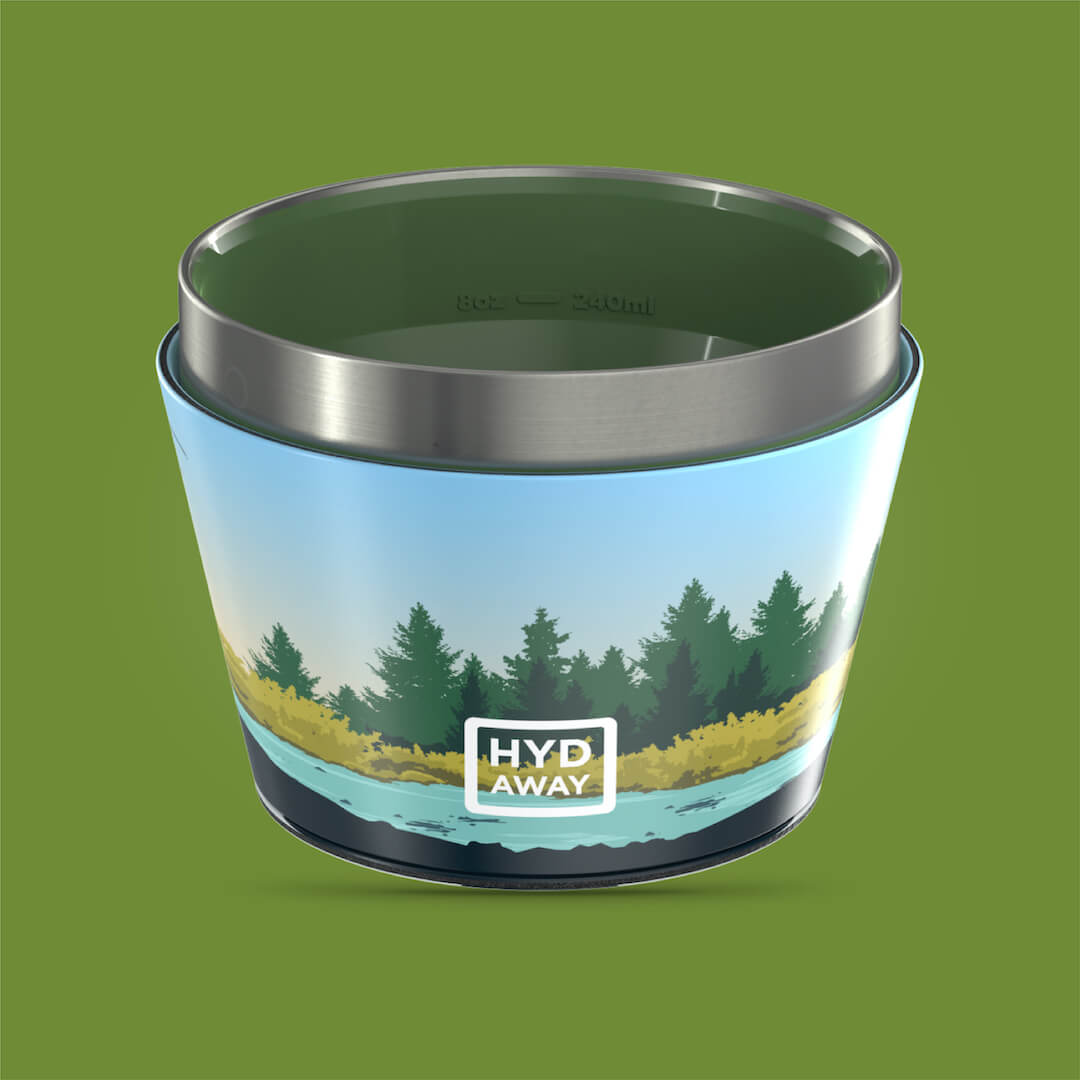
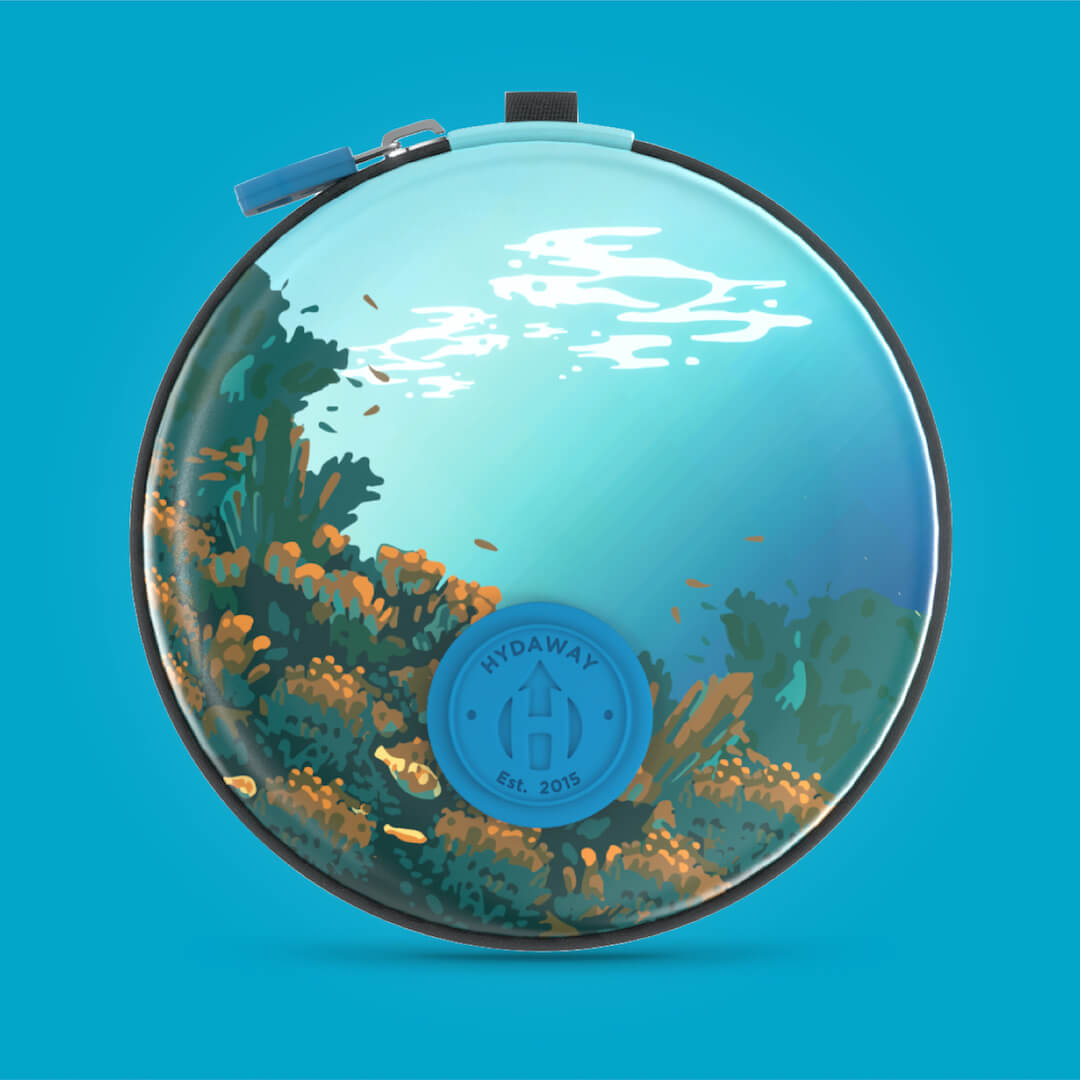
HYDAWAY's 17oz and 25oz collapsible bottles are designed to reduce packing volume when empty, and its Hydration Travel Pack pairs those formats with a closed-cell foam travel case for insulation around the bottle. That makes the setup relevant to a theme-park day, a carry-on, or a short hike where a full backpack reservoir would be unnecessary. Insulated tumblers can handle coffee at camp or on a travel morning, while insulated bowls with spill-proof lids extend the same temperature-management idea to snacks and meals.
Pack the system, not just the vessel
A modular kit works best when you assign each piece a role. Carry the collapsible bottle for active hydration, use a tumbler for a hot drink at a transit stop, and keep the sleeve accessible rather than buried under clothing. If the day turns hotter than expected, shade and starting temperature still matter more than the product label.
Space-saving gear also creates redundancy. A bottle can remain available if a hose disconnects, a bite valve freezes, or a reservoir needs to be removed for cleaning. For digital nomads, van travelers, and families trying to limit single-use containers, that flexibility often outweighs the extra insulation available from a bulkier integrated pack.
Troubleshooting Common Insulation Failures
Warm water, wet gear, and frozen hoses usually point to a weak component in the insulation system. Check the exposed hose, valve, pack shell, and air gaps before replacing the whole setup.
Warm water despite insulation
Direct sun can heat the hose, valve, and outer fabric while the bladder remains inside foam. Move the pack into shade, route the hose beneath a shoulder strap, and add a tube cover. If the first sip is warm but later sips cool down, the hose is retaining heat. Insulation works only as well as its most exposed link.
Frozen tube or bite valve
Cold reaches the hose before it affects the reservoir. After drinking, blow water back into the bladder, keep the valve near your body, and insulate the exposed line. A tube sock and clothespin can serve as an emergency cover, though a purpose-made sleeve stays in place better and is easier to clean.
Condensation and odor
A sealed bladder below the dew point can sweat inside the pack. Dry the reservoir, hose, and sleeve separately. Store them with closures open, then inspect the valve for trapped moisture. Electrolyte residue worsens odor, so follow this HYDAWAY hydration pack cleaner guide during maintenance.

Field fix: Shade the pack, protect the hose and valve, start with suitable water temperature, and dry every component before storage.
HYDAWAY offers collapsible 17oz and 25oz bottles, insulated tumblers, and travel drinkware that pair with a compact insulating layer when space matters. A bottle can back up a reservoir during cleaning or a valve failure, while a tumbler handles hot drinks without adding a full-size vessel. Visit HYDAWAY to choose a packable setup for a hike, travel day, commute, or theme-park outing.