


Squeeze Bottle Lids: The Complete Buyer's Guide for 2026

You're standing at an airport security tray, watching a shampoo bottle leave a sticky puddle across your bag. A week later, on a trail, a different bottle rides safely inside your pack because its lid holds the seal while the bottle flexes around it. The bottle body gets the attention, but the squeeze bottle lid decides whether your gear stays dry, your contents dispense cleanly, and the assembly remains hygienic.
This guide treats the lid as the working part, not a decorative accessory. You'll learn how closures evolved, how flip-top, screw-on, valved, and push-pull designs differ, which materials suit sauces and drinks, how thread fit and torque affect leaks, how to clean small crevices, how to source replacements, and how EU and US food-contact rules affect buyers in 2026. For a useful introduction to the broader principles behind keeping a container sealed, see this browse seal integrity testing guide from SwiftJet.
Why the Lid Matters More Than the Bottle
A bottle body can be strong, flexible, insulated, or collapsible, but none of those features matter if the closure fails. The lid has to compress a gasket, control the opening, withstand handling, and sometimes let air return without allowing liquid to escape. On a plane, changes in pressure and movement expose weak seals quickly. In a backpack, vibration and sideways storage do the same.
The useful question isn't “Which bottle should I buy?” It's “What must the lid do during my actual day?” A gym user may need one-handed drinking. A camper may prioritize a valve that won't drip inside a sleeping bag. Someone carrying cooking oil needs a controlled pour and a seal that tolerates repeated opening. A digital nomad may care most about a cap that can be removed, dried, and replaced without special tools.
Practical rule: Treat the lid as a small mechanical system. Inspect its threads, gasket, valve, hinge, and nozzle separately.
The closure's job becomes clearer when you break it into seven checks:
- History: Older closure designs explain why threads, liners, and seals still matter.
- Lid family: Flip-top, screw-on, valved, and push-pull designs solve different problems.
- Material: Plastic, silicone, and metal parts react differently to heat, oils, acids, and wear.
- Fit: A lid must match the mouth diameter and neck finish, not merely appear compatible.
- Torque: The right tightening force holds compression without damaging the threads or gasket.
- Care: Residue and moisture hide beneath valves, hinges, and seals.
- Replacement: A new gasket or original cap can extend a bottle's useful life more effectively than replacing the entire bottle.
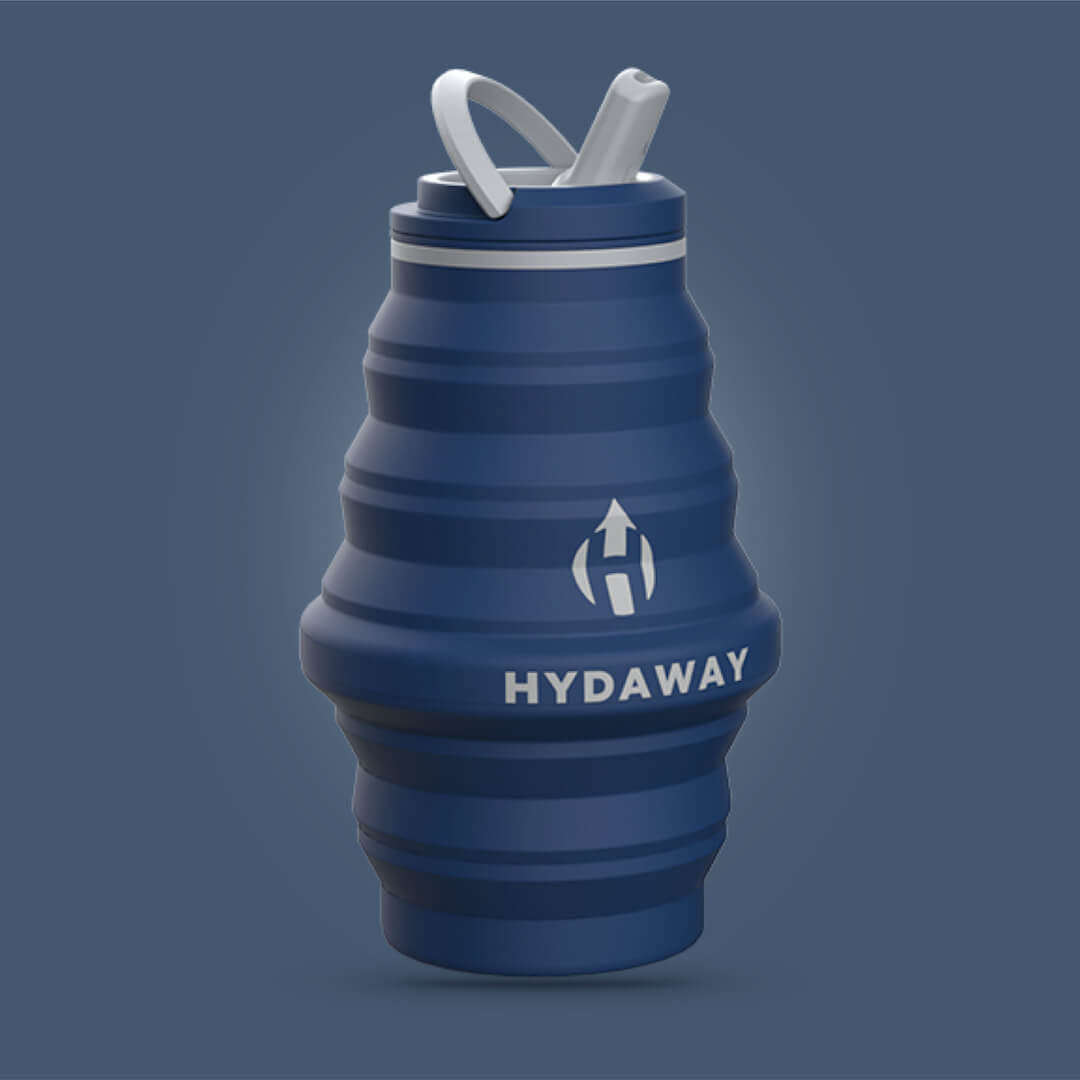
HYDAWAY's collapsible bottles illustrate why the lid and body need to work together. A packable bottle saves space only when its closure remains secure after compression, refilling, and storage. That makes the cap part of the travel system, not an afterthought.
A Short History of Bottle Closures
Bottle closures began with simple materials and a difficult problem: keep liquid inside while making access possible. Cork-and-glass apothecary jars used cork much like a natural gasket. The stopper compressed against the opening, but it could dry, loosen, or absorb odors.
In 1872, Hyman Frank patented an early internal screw-cap bottle closure, an important step toward resealable threaded packaging. The screw cap worked more like a bolt than a stopper. Turning it created repeatable engagement between the bottle and closure, giving users a practical way to open and close the same container.
In 1892, William Painter patented the Crown Cork seal. The design used 24 crimps and a cork liner, creating a reliable mass-market closure standard that helped bottle sealing move beyond cork stoppers. The crown cap became the tin-can ancestor of the soda-bottle closure, using a formed metal edge and liner to create dependable compression. The history of these early closures is summarized in Bottle cap history from Wikipedia.

After the Second World War, polyethylene and other plastics made lightweight screw tops practical for household products. Early plastic lids resembled the snap-lid revolution associated with reusable food containers. They were lighter than metal, easier to mold into different shapes, and suitable for bottles that users squeezed rather than tipped.
Flip tops later made condiment and toiletry dispensing faster. A hinged lid could stay attached to the bottle, expose a nozzle with one hand, and close again without a separate cap. Modern sports closures add silicone valves and air-return paths. A user squeezes or bites, the valve opens, and elastic material closes the path when pressure ends.
In 2026, recycled PET threads, silicone valves, and tighter food-contact requirements shape what manufacturers can responsibly claim. The basic idea remains unchanged, though. A squeeze bottle lid must seal a container while allowing controlled dispensing.
The Four Main Types of Squeeze Bottle Lids
Most products fall into four practical lid families. The table below gives you a fast comparison, but the failure mode matters as much as the mechanism. A lid that dispenses beautifully in a kitchen may be frustrating on a trail because its narrow channels are difficult to inspect.
Squeeze bottle lid families at a glance
| Lid Type | Mechanism | Best For | Leak Risk | Cleaning |
|---|---|---|---|---|
| Flip-top | Hinged cap with a sealing surface or silicone gasket | Condiments, shampoo, gym bottles | Moderate if the hinge or gasket wears | Moderate |
| Screw-on | Continuous thread compresses a seal against the rim | Sauces, oils, refillable containers | Low when correctly matched and tightened | Easy to moderate |
| Valved or sports-cap | Pressure opens a silicone valve, which closes after use | Hiking, running, cycling | Low during upright use, higher if the valve is damaged | Moderate to difficult |
| Push-pull or telescopic straw | Sliding nozzle or straw opens the flow path | Compact travel and backpacks | Moderate, especially around moving parts | Difficult |
A flip-top lid is the familiar choice for kitchen condiments and toiletries. You can open it with one hand, and the attached hinge prevents a lost cap. Its weak points are the hinge, nozzle opening, and gasket seat. Dried sauce can stop the top from closing fully, while shampoo residue can make the closure sticky.
A screw-on lid gives the most understandable sealing action. Threads pull the lid downward, and the sealing surface presses against the bottle rim or gasket. It suits thicker sauces and oils, but compatibility matters. A lid with the wrong thread can feel tight while leaving an uneven seal.
A valved sports cap is convenient when you're moving. Pressure opens the silicone valve, then the material returns toward its closed position after pressure is released. The design reduces open-spout drips, but the valve slit and internal chamber demand more careful cleaning.
Push-pull and telescopic straw lids save space in a travel pack. They're useful when access matters more than effortless washing. Their moving parts, narrow passages, and hidden interfaces make them the most demanding option to maintain.
My quick recommendation is simple: choose flip-top for kitchen and toiletry kits, valved for trail running, screw-on for sauces, and push-pull for ultralight travel where every gram and square centimeter counts.
Materials and Food Safety in 2026
Treat a plastic squeeze bottle lid like cookware. You wouldn't choose a frying pan without considering heat, oil, and repeated washing. Use the same logic for the cap, gasket, valve, and nozzle.
Polypropylene is light and commonly used for rigid caps. It can suit sauces and cool drinks, but heat exposure may contribute to odor retention or deformation depending on the design. LDPE is softer and more flexible, which helps a bottle dispense low-viscosity liquids when squeezed. That flexibility can also make the surface easier to scratch or more likely to retain flavors.
Silicone is valuable where a lid needs a flexible valve or gasket. It can reseal repeatedly, but inspect it for tears, stretching, cloudiness, and residue trapped around the lip. Stainless steel components offer durability and corrosion resistance, though they can increase weight and cost. For a plain-language explanation of silicone's food-grade role, review what food-grade silicone means.
| Material | Best For | Advantages | Limitations |
|---|---|---|---|
| Polypropylene | Rigid caps and cool food or drinks | Lightweight and practical | Heat can affect shape or odor performance |
| LDPE | Flexible squeeze dispensing | Soft and easy to compress | Can scratch and retain flavors |
| Silicone | Valves and gaskets | Flexible and capable of resealing | Needs inspection for tears and trapped residue |
| Stainless steel | Durable closure components | Corrosion resistant and robust | Heavier and often more expensive |
Food-contact compliance applies to the complete closure assembly, not just the bottle body. The European Commission says food-contact materials placed on the EU market must comply with Regulation (EC) No 1935/2004, while plastic components are also governed by Regulation (EU) No 10/2011. The EU updated its plastic-food-contact rules in 2026 through Commission Regulation (EU) 2026/245, published on 2 February 2026, which added six authorized substances to Annex I. See the European Commission food-contact materials framework.
EU rules use a specific migration threshold of 10 mg of substance per dm² of food-contact surface for the sum of substances that can migrate from food-contact materials to food, as outlined in this European Parliament food-contact briefing. Buyers should therefore request documentation covering the cap, liner, valve, gasket, and dispensing parts.
In the United States, FDA requirements cover food-contact substances, and FDA guidance discusses Threshold of Regulation requests under 21 CFR 170.39. FDA also bans polycarbonate resins in infant feeding bottles and spill-proof cups, including closures and lids. The FDA food-contact substances guidance is a useful reference when the intended user is a child or the contents include food and drink.
Sizing Threads and Torque That Actually Seal
A lid that screws on can still be the wrong lid. Start with the bottle's stated mouth diameter, then measure the opening with calipers. Measure the opening itself, not the neck's outside diameter, because the outer rim can create a false match.
Record the neck finish, including thread size, pitch, and profile. Two bottles may have similar openings while using different internal threads. A standard-looking lid might engage for part of a turn, then cross-thread or stop before the gasket touches the sealing surface. The threads are the track, while the gasket provides the pressure that closes the path for liquid.
A practical fit test
- Test the empty bottle. Screw the dry lid on without forcing it. The threads should engage easily and run straight.
- Watch the sealing surface. Stop when the lid meets the rim or gasket. Do not keep tightening to make the cap feel immovable.
- Use the listed torque. If the manufacturer provides a specification, follow it instead of guessing.
- Inspect the gap. Check for an even closure line, a flat gasket, and a nozzle that has not lifted or twisted.
- Test with water. Cover the opening with a dry paper towel, fill the bottle, tighten normally, invert it, and gently shake it.
- Correct the cause. If droplets appear, remove the lid, reseat the gasket, clean the threads, and test again.
For screw-on squeeze bottle lids, insufficient tightening torque can cause leakage because the gasket needs enough compression. Packaging guidance says removal torque after 24 hours should typically be around 40% to 60% of the application torque, reflecting early torque relaxation. One industry chart lists 24 mm closures at roughly 10 to 18 in-lb application torque and 28 mm closures at about 12 to 21 in-lb. The correct setting still depends on the neck finish and closure geometry. See the SKS Bottle torque guidance.

Overtightening creates its own problems. Excessive force can split a cap, strip the thread, or push a silicone gasket out of position. Before a trip, test the filled bottle and leave it inverted briefly before packing it beside clothing or electronics.
Cleaning and Maintenance Without the Guesswork
At an airport, a squeeze bottle can look clean while a sticky valve or damp straw holds yesterday's residue. Small enclosed spaces behave like tiny caves: water and food remain inside after a quick rinse, creating conditions for odor and mold.
Disassemble the lid whenever its design permits. Separate the cap, gasket, valve, and straw, then wash each part with warm water, mild dish soap, and a soft brush reserved for narrow components. Work around nozzle slits, hinges, threads, straw interiors, and the surface beneath the gasket. Abrasive pads can scratch plastic and weaken the smooth surfaces that make a seal.

The dry-before-reassembly rule
Rinsing is only part of the job. Leave the lid open and the valve separated while every component air-dries. Putting a damp gasket back in place traps moisture in the crevices you just cleaned, much like closing a wet towel inside a bag.
Follow the manufacturer's dishwasher instructions, and check whether they apply to each individual part. Heat can warp polypropylene, deform valves, and shorten gasket life. Hand-washing is the safer default for silicone parts, printed lids, valves, and unfamiliar materials. Avoid boiling water, bleach, or a dishwasher sanitize cycle unless the manufacturer specifically permits that method and temperature.
A practical maintenance rhythm is simple:
- Rinse promptly: Remove sauce, oil, juice, or sports-drink residue before it dries.
- Brush the details: Clean threads, nozzle slits, hinges, valve chambers, and straw interiors.
- Dry separately: Keep the lid open and components apart until completely dry.
- Inspect before packing: Look for cracks, cloudy plastic, stretched valve lips, and hardened seals.
- Replace worn parts: A damaged gasket will not become dependable because the lid is tightened harder.
For residue that survives ordinary washing, HYDAWAY bottle cleaner tablets may suit a deeper cleaning routine, provided both the product and bottle manufacturers permit their use.
Inspect the assembly regularly for thread damage, cracks, discoloration, and seals that no longer return to shape. Persistent odor often comes from the gasket or valve rather than the bottle body. Replacing that small component can restore practical performance without discarding the whole container.
Replacement Lids and Travel-Friendly Upgrades
Replacement shopping starts with the original manufacturer, not the search bar. Find the bottle's model name and lid part number, then compare the replacement's thread pitch, gasket style, valve material, and temperature rating. A generic cap is reasonable only when every important interface matches.
Match the remedy to the failure:
- Stripped threads: Replace the complete lid and inspect the bottle neck for damage.
- Lost cap: Choose a tethered or attached design if your trips involve frequent refills.
- Perished silicone: Replace the gasket or valve when the manufacturer sells the part separately.
- Persistent leaks: Check the sealing surface and thread compatibility before ordering a new style.
- Hard-to-clean channels: Move to a simpler flip-top or screw-on design if maintenance is the failure.
Original-equipment channels usually provide the clearest fit. Aftermarket suppliers can offer useful alternatives, but the product description should identify the exact diameter, thread profile, gasket dimensions, and contents the lid is intended to handle. For unusual or discontinued components, this guide to on demand parts from American explains why replacement-part production can be useful, though a printed part still needs appropriate material and food-contact verification before use with food or drink.
HYDAWAY's collapsible bottles use 38 mm and 43 mm threaded lids designed around refill and filtration use. The lids integrate with standard refill-station spigots, screw onto most filtration caps, and can be swapped between 16, 25, and 32 oz bodies, according to the product information supplied for this guide. That arrangement suits an airport refill, a filtration stop on a hike, or a travel kit where the bottle body needs to flatten while the closure remains available.
The HYDAWAY replacement caps for water bottles page is the sensible starting point when you need a matching part rather than an experimental substitute. For a compact travel kit, pack one spare gasket, one valved sport lid, and one flip-top for condiments in a single zip pouch. The spare parts weigh little compared with the inconvenience of a leak or a lost cap far from a store.
Choosing the Right Lid for Your Next Trip
Choose the lid from the activity backward. Airport refills reward a secure screw-on or flip-top closure that can be checked before the bottle enters a bag. Trail runners usually need a lightweight valved cap that opens with limited hand movement and closes immediately after drinking. A road-trip condiment bottle benefits from a flip-top that exposes a controlled nozzle without leaving a loose cap on a picnic table.
Hot drinks at a ski lift demand more caution. Use a lid and bottle explicitly rated for the temperature and contents, and don't infer suitability from the fact that a component survives ordinary washing. Cooking oils, citrus juice, vinegar, alcohol, and acidic sauces also deserve a material and food-contact check rather than a casual assumption.
| Use case | Practical choice | What to verify |
|---|---|---|
| Airport refill | Secure screw-on or flip-top | Thread fit, gasket condition, and leak test |
| Trail running | Valved sports cap | One-handed operation and easy valve inspection |
| Hot drink outing | Temperature-rated closure | Food-contact documentation and heat limits |
| Road-trip condiments | Flip-top or controlled screw-on | Nozzle closure and residue access |
| Office hydration | Simple screw-on or flip-top | Comfortable daily cleaning |
For filtration stops and unfamiliar water sources, pair the closure decision with practical advice on water filters from Water Filter Advisor. A compatible mouth and thread make refilling easier, but they don't replace appropriate water treatment.
Three rules cover most purchases: match the thread before thinking about torque, choose valve behavior that suits your hand strength and activity, and carry one spare silicone gasket. If the lid is difficult to disassemble or inspect, account for that maintenance burden before choosing a compact design.

For a screenshot-friendly packing check, ask: Does the thread engage smoothly? Is the gasket flat and undamaged? Does the lid suit the contents and temperature? Can every wet part dry fully? Have I tested it inverted before packing? A lid that passes those checks is ready for the backpack, carry-on, or office desk.
HYDAWAY offers collapsible bottles and replacement lid options for travelers who need packable hydration without sacrificing a practical closure. Visit HYDAWAY to choose a bottle or lid setup that fits your refill routine, outdoor kit, commute, or everyday carry.