How to Keep Food Warm for Hours on the Go

Picture this: you're hours into a road trip, halfway up a hiking trail, or just finally getting a lunch break on a crazy workday, and you pull a perfectly hot meal from your bag. That's not luck. It's the result of mastering a few simple principles: insulation, preheating, and strategic packing.
The Secret to a Hot Meal Anywhere
Keeping food warm is a science you can easily get the hang of. It all comes down to slowing heat loss, and the right moves can make the difference between a sad, lukewarm lunch and a genuinely satisfying hot meal. I'm going to show you how to apply the same logic used in professional catering to your personal meals, so they taste like they just came out of the kitchen.
The challenge of keeping food hot is nothing new. Back in the early 1900s, inventors were already patenting insulated "vacuum dishes" for railroads and hotels. Then, after World War II, the rise of buffet-style dining pushed the development of warming gear to keep food above the critical safety mark of 60°C (140°F).
Today, those same principles are packed into the compact gear we use as adventurers and busy professionals. A well-designed container can keep soups, stews, or grains safely hot for 4–6 hours, bringing commercial-grade standards to a portable format.
Why Temperature Matters More Than You Think
A hot meal on the go is more than just convenient; it’s about the whole experience. It’s about safety and pure satisfaction. Whether you’re a parent packing for a day at a theme park or a remote worker setting up at a coffee shop, there’s something deeply restorative about a warm meal. It’s a little piece of home you can take absolutely anywhere.
Think about these real-world scenarios where holding onto that heat is a total game-changer:
- The Busy Professional: You prep a healthy, hot lunch at 7 AM. With the right insulated bowl, it’s still perfectly warm when you finally get a break at 1 PM during back-to-back meetings. You save money and stay on track with your wellness goals.
- The Weekend Hiker: After a chilly morning on the trail, opening a container to find steaming chili is a massive morale boost that refuels you for the hike back down.
- The Family on a Road Trip: Instead of settling for fast food at a service plaza, you can serve a homemade warm meal at a scenic overlook. Your family eats well, and your travel schedule stays on track.
The core idea is simple: trap the heat you start with. Every single step, from preheating your container to packing it tightly, helps lock in that thermal energy and fight off the cold.
If you've ever wondered how catering services pull it off for huge events, it’s the same basic concept, just on a larger scale. Their approach to maintaining temperature for prepared meals like Pizza is all about insulation and minimizing heat loss, whether it's a big hot box or your personal lunch container.
This is exactly where products like HYDAWAY's Insulated Food Bowls shine. Their double-walled construction and spill-proof lids are specifically designed to keep heat locked in for hours. For the person who meal preps on Sunday, a HYDAWAY bowl means your perfectly portioned hot lunch is ready to grab and go, staying warm until you are. Even better, their collapsible design means you don’t have to sacrifice precious bag space for the luxury of a hot meal.
Mastering the Fundamentals of Heat Retention
Want to know the secret to keeping food warm for hours? It starts long before you even think about packing your bag. The most effective moves you can make happen right in your kitchen, setting your meal up for success from the get-go. Getting these fundamentals right is the difference between a sad, lukewarm lunch and a satisfyingly hot meal exactly when you're ready to eat.
Effective heat retention isn't some complicated science; it's just about being intentional. It all boils down to three core pillars that work together to lock in every degree of warmth.
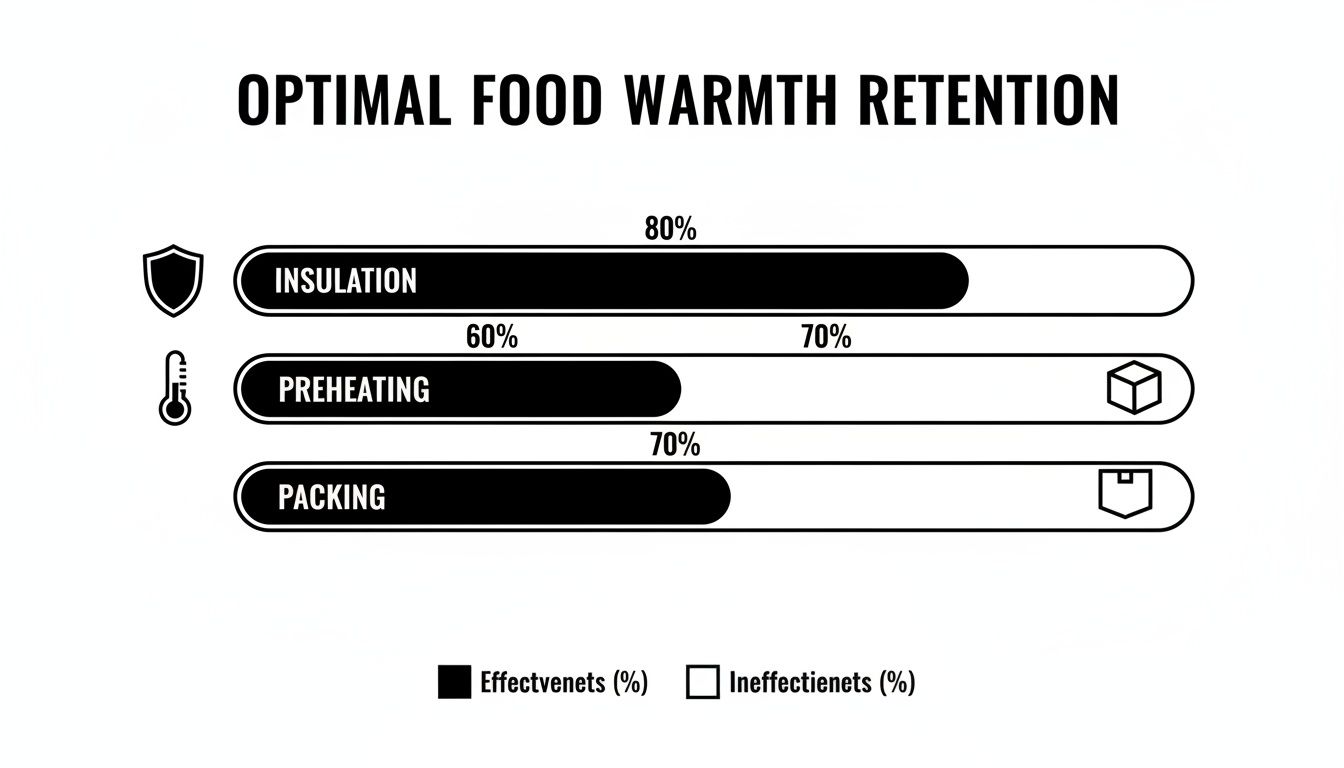
As you can see, solid insulation, a proper preheat, and smart packing techniques are all critical pieces of the puzzle.
The Non-Negotiable Step: Preheating Your Container
If you only take one piece of advice from this guide, make it this one. Preheating your insulated container is the single most impactful thing you can do. Think of it like warming up your car on a frosty morning; you’re preparing the environment to perform at its best.
When you dump hot food into a cold container, the container walls immediately start stealing a massive amount of heat. This process, called thermal equilibrium, can cause your food's temperature to plummet by 10-15°F (about 5-8°C) in just the first few minutes. That's a huge loss of energy right out of the gate.
To stop this from happening, you need to "prime" your container first.
- The Method: Simply fill your insulated food container with boiling water.
- The Timing: Screw the lid on tight and let it sit for at least 10 minutes.
- The Finish: Just before you're ready to add your food, carefully pour out the hot water.
This simple act warms the container's inner walls so they don't suck the life—and heat—out of your meal. For instance, before you fill your HYDAWAY Insulated Bowl with that amazing chili you just cooked, giving it a ten-minute hot water bath ensures the bowl is ready to retain heat, not absorb it.
By preheating, you're essentially giving your food a massive head start. The container's insulation can then focus entirely on fighting heat loss to the outside air, dramatically extending the time your meal stays perfectly hot.
Smart Packing for Maximum Warmth
Okay, your container is preheated and ready to go. The next critical step is how you pack it. When it comes to heat retention, empty air is your enemy. Air is terrible at holding heat and actually encourages convection, the process where heat circulates and escapes.
Your goal is to minimize air gaps as much as humanly possible. Fill your HYDAWAY bowl or thermos all the way to the top, leaving almost no empty space. A full container has less air to heat and less room for that air to move around, which translates to far less heat loss.
Say you're packing a stew for a day at an amusement park. Fill that container right to the brim. If you only have enough to fill it halfway, that giant air pocket at the top will cool your food down way faster. In that situation, you’d be much better off using a smaller container.
Choosing Foods That Retain Heat Best
Believe it or not, not all foods are created equal when it comes to holding temperature. The best choices are usually dense and have a high moisture content, because water is fantastic at storing thermal energy.
Foods that are absolute champions at staying warm include:
- Thick Soups and Chilis: Their density and liquid base make them perfect heat holders.
- Stews and Curries: Chunks of meat and veggies suspended in a thick, hearty sauce are ideal.
- Pasta with Hearty Sauces: Think bolognese or a creamy alfredo, not a light olive oil drizzle.
- Dense Grains: Oatmeal, risotto, and even well-cooked quinoa are great at retaining warmth.
On the flip side, foods with lots of air pockets or less density—like roasted broccoli, fried chicken, or a simple sandwich—will cool down much faster. They just don't have the thermal mass to stay hot for hours. By choosing the right type of meal from the start, you're stacking the odds in your favor for a perfect lunch later on.
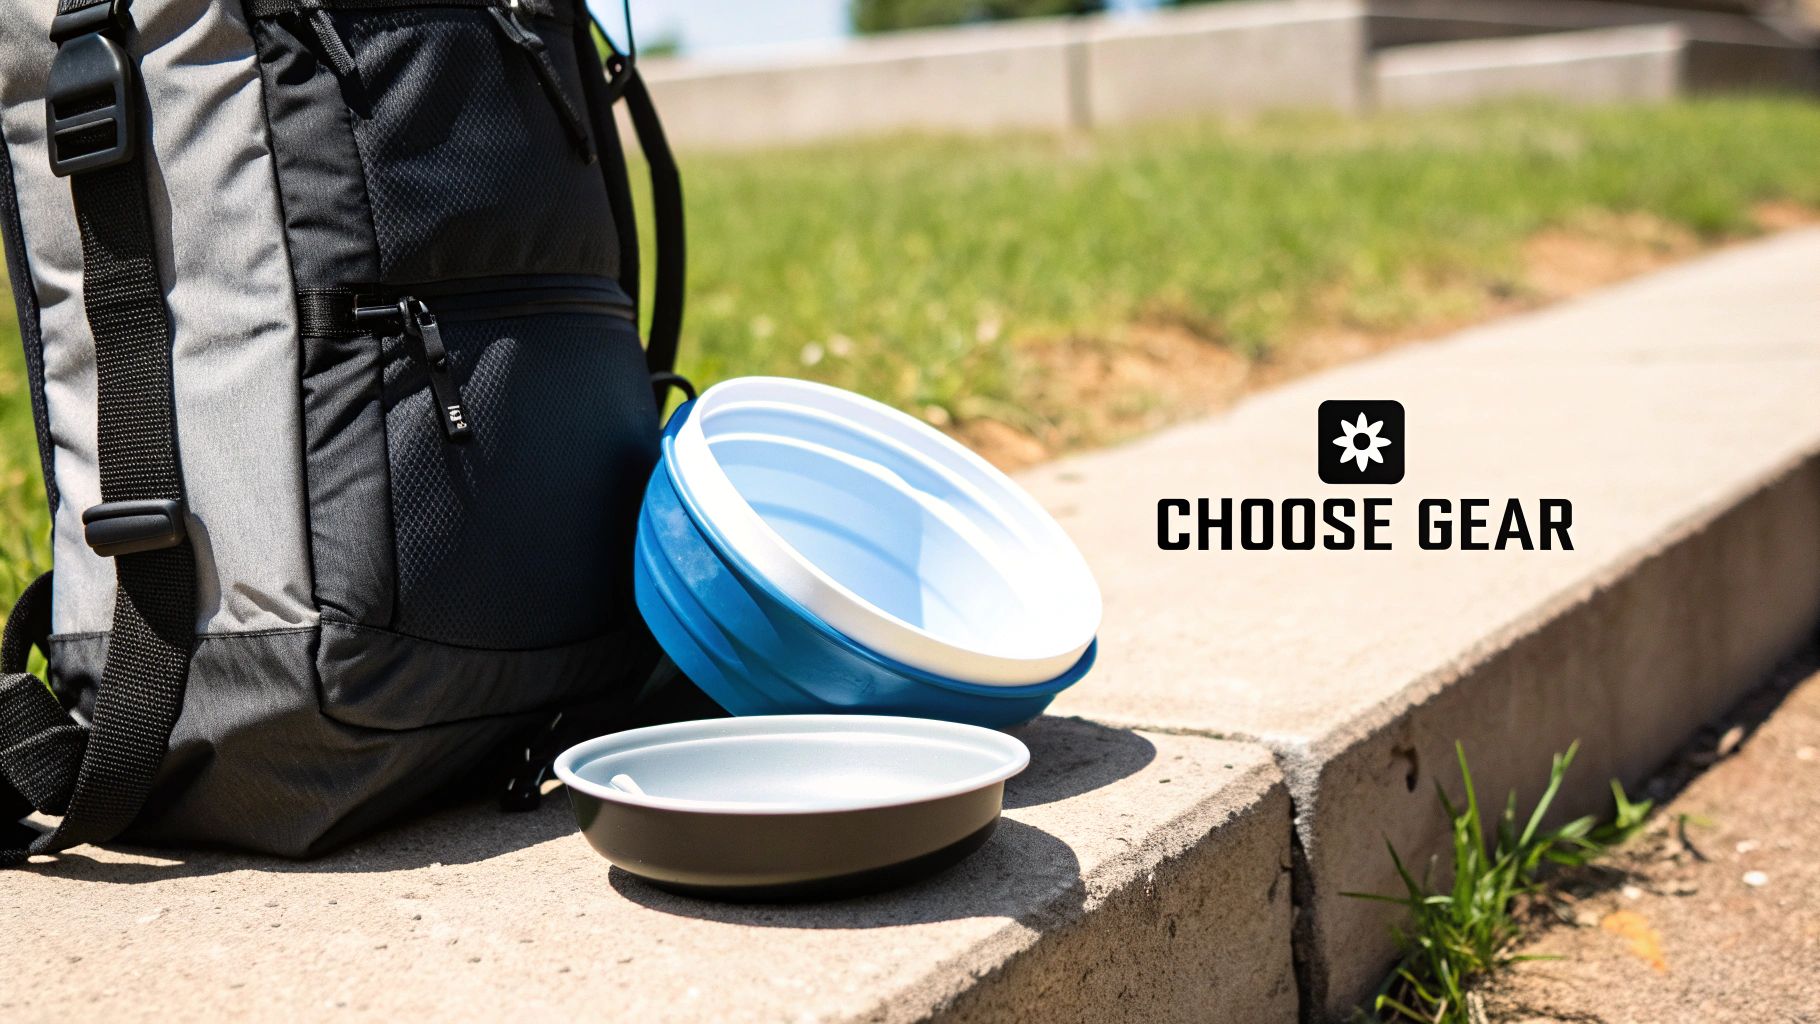
Choosing the Right Gear for Your Journey
The gear you choose isn't just an accessory—it's the foundation of your entire strategy for keeping food warm for hours. A quality insulated container acts like a personal fortress for your meal, defending it against the inevitable temperature drop. Nailing your selection comes down to matching the equipment to both your food and your lifestyle.
The whole concept is really just a miniaturized version of what you see in professional kitchens. Keeping food warm is big business, with the global food holding and warming equipment market expected to grow from USD 5.2 billion in 2025 to USD 7.2 billion by 2035. That industry uses everything from heated shelves to warming drawers. Portable insulated bowls just apply that same "holding cabinet" logic to a single serving, using trapped air and tight seals to keep your portion hot.
The Anatomy of a Great Insulated Container
When you're looking at different options, a few key features make all the difference. Not every container is built the same, and knowing what to look for ensures you get something that actually works when you need it to.
Here’s what I consider non-negotiable:
- Double-Wall Construction: This is the core of any good insulation. Two layers of material (usually stainless steel) with a vacuum-sealed space in between create a powerful thermal barrier, drastically slowing down heat transfer.
- An Airtight, Spill-Proof Seal: Heat will find any opening to escape. A secure, leak-proof lid is critical for trapping both heat and moisture, which stops your soup from becoming a mess in your bag while keeping it steaming hot.
- Food-Safe Materials: Always, always prioritize containers made from food-grade stainless steel or silicone. This guarantees no weird chemicals leach into your food, keeping it both warm and healthy.
These are the absolute basics. A container that nails these three things is already on its way to being a reliable partner for your on-the-go meals.
Modern Versatility vs. Traditional Designs
For years, the classic stainless steel thermos was the only game in town. They work, sure, but they’re often bulky, heavy, and a real pain to pack once they’re empty. Luckily, modern designs offer a ton more versatility without sacrificing performance.
This is where the HYDAWAY Insulated Food Bowl really shines. It has the robust, double-walled insulation and a completely spill-proof lid, checking all the essential boxes. But its real magic is the collapsible design, which is a massive space-saver.
Picture this: you're a digital nomad working from a co-working space in a new city. You pack a hot, homemade lunch in your HYDAWAY bowl. After you eat, you can collapse it down to a slim disc and tuck it right into your laptop bag, leaving plenty of room for everything else. A rigid thermos would take up the same bulky space all day long. This makes it perfect for your daily commute or international travel when every inch of bag space counts.
The ability to reclaim precious bag space is a game-changer for minimalist travelers, families heading to theme parks, and anyone who values efficient packing. You get all the benefits of superior insulation without the burden of carrying a bulky, empty container all afternoon.
Accessories That Boost Performance
Want to take your food-warming game to the next level? Pair your container with a thermal lunch bag. These bags provide an extra layer of insulation, creating a protective micro-environment for your meal. Think of it like putting a winter coat on over a warm sweater—the combination is way more effective than either one on its own.
A good thermal bag can easily add another hour or two to your food's warmth, which is a lifesaver on cold days or for extra-long journeys. While commercial operations rely on specialized hot food counters to maintain temperature on a large scale, for personal use, a quality insulated container and a thermal bag are a powerful duo.
Advanced Techniques for Maximum Warmth
Sometimes, the basic steps just won't cut it. When you’re facing a full day of exploring, a chilly winter hike, or just need your meal to stay seriously hot for the long haul, you need to bring out the big guns.
This is where you can get a little creative with some next-level strategies. Think of these as the pro moves for guaranteeing a steaming-hot meal hours after you've packed it, especially when conditions are working against you.
Often, the best insulation tools are the everyday items you already have with you. A few simple DIY tricks can add serious time to how long your food stays warm.
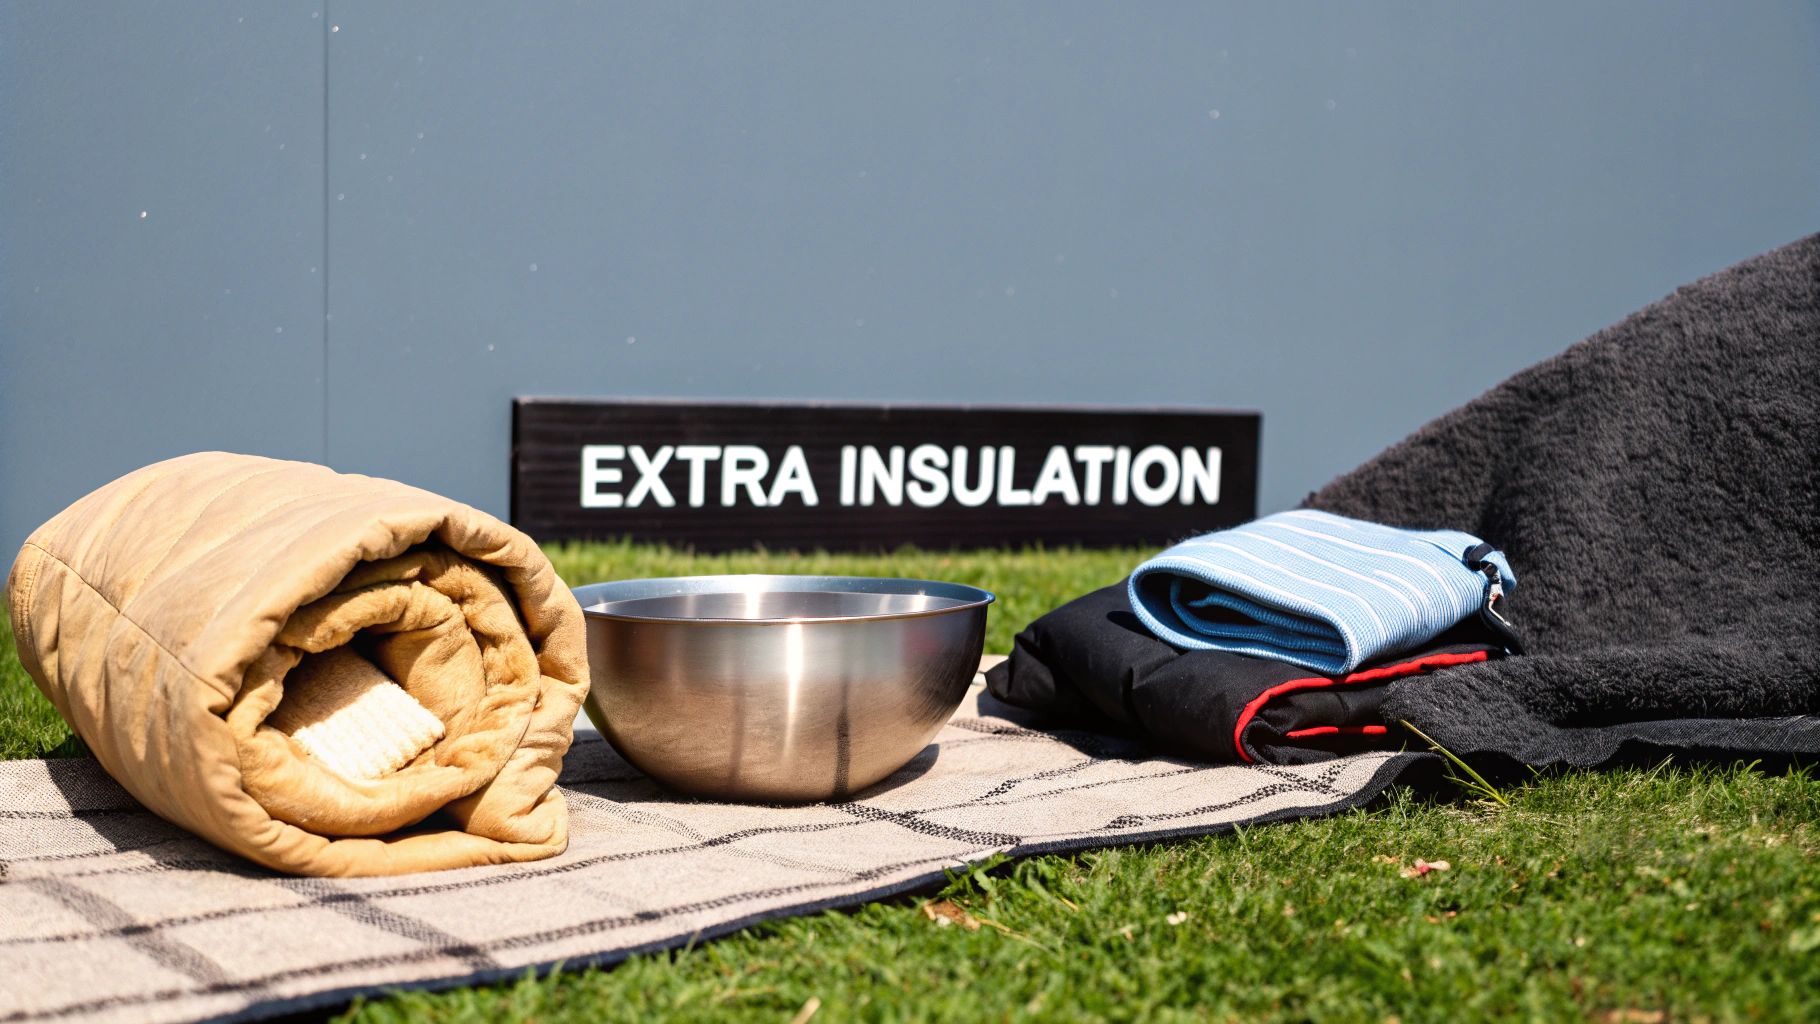
Create a DIY Insulation Cocoon
The mission is simple: build a protective cocoon around your insulated container. You’re essentially trapping air between multiple layers, which is an incredibly effective way to slow down heat loss. You can do this with gear you probably already have packed.
For example, try wrapping your HYDAWAY Insulated Food Bowl in a fleece jacket or a thick wool sweater before sliding it into your backpack. The fabric’s dense fibers create thousands of tiny air pockets that act as a powerful barrier against the cold. This is perfect for the hiker who already has extra layers in their pack or the commuter who can use their scarf.
Want to take it even further? Use a silver emergency blanket. These Mylar sheets are designed to reflect up to 90% of body heat, and they work just as well for your food. Wrap the blanket tightly around your container to reflect heat back inward, then bundle the whole thing in a towel or jacket for a final layer.
This simple layering trick can easily add another hour or two of warmth, making it the perfect move for extending your window for a hot lunch on a cold trail.
Safely Use External Heat Sources
Another clever method is to introduce a gentle, external heat source into your insulated lunch bag. This isn't about reheating your food; it's about providing a low, steady warmth that actively fights against the natural cooling process from the moment you pack your bag.
The key here is using something safe that provides consistent, gentle warmth—not intense heat that could damage your gear.
Here are a few great options:
- Reusable Heat Packs: Those small, gel-filled packs you snap to activate are perfect. They generate a safe, controlled heat for hours. Just activate one and tuck it next to your food container inside your thermal bag.
- Small Hot Water Bottle: A compact, travel-sized hot water bottle works wonders. Fill it with very hot (but not boiling) water, make sure it’s sealed tight, and place it at the bottom of your insulated bag before adding your food.
- Microwaveable Warmers: Small fabric pouches filled with rice, flaxseed, or cherry pits can be heated in a microwave and will radiate a gentle warmth for a couple of hours.
These sources create a warm micro-environment inside your bag, helping your insulated container do its job that much better.
The Hot Box Method for Campers and Road Trippers
For anyone camping, living the van life, or road-tripping with a cooler, the "hot box" method is an absolute game-changer. This trick transforms a standard cooler into a makeshift warming oven, keeping multiple dishes hot for hours—perfect for feeding a group.
These kinds of tips are essential for a well-equipped mobile kitchen. You can find even more great ideas in our guide to the ultimate camping kitchen setup ideas.
Here’s how you build your own hot box:
- Heat Your Bricks: Find two or three standard house bricks and heat them in an oven at around 300°F (150°C) for 20-30 minutes. Be extremely careful—they will be hot.
- Wrap Them Up: Using oven mitts, carefully wrap each hot brick completely in heavy-duty aluminum foil. This helps distribute the heat and keeps your cooler clean.
- Insulate the Cooler: Line the bottom and sides of your empty cooler with thick towels or old blankets.
- Assemble and Pack: Place the foil-wrapped bricks on the towel-lined bottom. Add another layer of towels on top of the bricks. Now, set your hot, sealed food containers on this layer, and cover everything with more towels before closing the cooler lid tightly.
This setup can keep a big pot of chili or a casserole dish piping hot for 4-6 hours. It’s perfect for tailgates, potlucks, or simply having a delicious hot meal waiting for you after a long day of adventuring.
Keeping Your Hot Meal Safe to Eat
A perfectly warm meal is fantastic, but only if it's also perfectly safe. All the best packing tricks in the world won't matter if you ignore the basics of food safety. We're not just talking about taste here—this is about making sure your meal on the go is healthy and free from any nasty bacteria.
The single most important thing to get right is avoiding the temperature danger zone. That’s the range between 40°F and 140°F (4°C to 60°C). When food sits in this zone, bacteria can double in as little as 20 minutes, turning a delicious lunch into a serious health risk.
Your goal is simple: keep hot food at or above 140°F (60°C). Think of this as the golden rule that separates an enjoyable meal from a potential bout of food poisoning.
Navigating the Two-Hour Rule
You've probably heard of the "two-hour rule." It's a standard food safety guideline stating that perishable food left in the danger zone for more than two hours should be tossed. The catch is that the clock starts ticking the second the food’s temperature dips below 140°F.
This is where a high-quality insulated container, like the HYDAWAY Insulated Food Bowl, really shines. Its double-wall construction is designed to keep your meal well above that danger zone for several hours, especially if you've followed the preheating and packing tips we covered earlier. This gives you the freedom to pack your lunch in the morning and eat it safely in the afternoon, without access to a fridge or microwave.
Here’s a simple mantra to live by: when in doubt, throw it out. It is never, ever worth risking your health for a meal that might have spent too long in the danger zone.
The same principles professional kitchens use for safe food holding are now filtering down into gear for the rest of us. It's not just about heavy-duty equipment anymore. The global market for simple food warming trays hit about USD 554.8 million in 2024, which shows just how much people want gear that can hold food at safe temperatures.
For travelers and families, this means you can get lightweight, insulated containers that keep a meal safe and delicious for a 3–6 hour travel window—no bulky power source needed. It’s the same safety-first design philosophy, just made for life on the move. For more on the growing market for these solutions, check out Dataintelo.com.
Practical Safety Checks Before You Eat
Before digging in, always do a quick check with your senses. While you can't see or smell every type of bacteria, your nose and eyes can often give you a heads-up if something's gone wrong.
Keep an eye (and nose) out for these warning signs:
- Unusual Odors: If the food smells "off," sour, or just not how it should, don't risk it.
- Changes in Texture: Has it turned slimy, mushy, or strangely dry? That can be a red flag for bacterial growth.
- Visible Mold: This one’s a no-brainer. Even a tiny spot of mold means the whole thing needs to go.
And remember, if you suspect your food has been sitting in the danger zone for too long, just reheating it won't magically make it safe. Some bacteria produce heat-stable toxins that cooking can't destroy. It’s always better to be cautious. For more on how the right materials can help with food safety, check out our guide on the benefits of silicone for food storage.
Ultimately, keeping your meal safe is every bit as important as keeping it warm. By understanding the temperature danger zone and using reliable gear like a HYDAWAY bowl, you can confidently enjoy a hot, delicious, and healthy meal wherever your adventures take you.
Common Questions About Keeping Food Warm
When you're trying to get a hot meal on the go, a few questions always seem to pop up. Whether you're a seasoned road tripper or just trying to make your lunch break better, getting the right answers can make all the difference. We’ve pulled together the most common questions we hear to help you perfect your hot-food-packing game.
Does Aluminum Foil Actually Keep Food Warm for Hours?
This is a classic one. Aluminum foil is a fantastic tool, but it's often misunderstood. On its own, foil isn't a great insulator. It's actually a reflector of thermal energy. That means it’s great for slowing down heat loss for a little while—think wrapping a burrito you plan to eat in the next half hour.
But it won't keep food truly hot for hours by itself. The best way to use it is as a sidekick. Wrap your hot container in foil before you stick it inside an insulated bag. The foil bounces heat back toward the container, while the bag's insulation does the heavy lifting of trapping it.
Think of foil as a helpful sidekick, not the hero. It boosts the performance of your primary insulation but can't replace it for long-term warmth.
For a modern traveler, a far better solution is a container built for the job. The HYDAWAY Insulated Food Bowl, for example, uses double-wall construction to create a real thermal barrier, which is way more effective than a simple sheet of foil. It's a one-and-done solution that doesn't require extra wrapping.
How Long Does Food Stay Hot in an Insulated Container?
Ah, the million-dollar question. The honest answer is: it depends. A few key factors are at play, and getting them right is the secret to keeping food warm for hours.
- Container Quality: There's a huge difference. A high-quality, vacuum-sealed container will dramatically outperform a cheap, non-insulated one.
- Preheating: Did you preheat your container with boiling water for at least 10 minutes? This one simple step can literally add hours to your heat retention time.
- Food Density: Dense, liquid-heavy foods like chili or a thick stew will hold their heat way longer than airy foods like roasted veggies or breaded chicken.
- Starting Temp: Your food needs to be piping hot when it goes in—ideally above 165°F (74°C).
Nail all of these, and a good container can keep your food safely hot (above 140°F/60°C) for 4-6 hours, sometimes even longer. It’s always a good idea to do a test run with your specific gear to see how it performs in the real world.
What Are the Best Foods to Pack to Stay Warm?
Choosing the right meal is a huge part of the strategy. Foods with lots of moisture and density are champions at storing heat.
You can't go wrong with these:
- Thick soups, chilis, and hearty stews
- Pasta with a rich, dense sauce like bolognese
- Curries with plenty of sauce
- Dense grains like oatmeal, risotto, or quinoa
Foods with more air pockets or a drier texture will cool down much faster. And for the best results, always fill your container right to the top. That little air gap in a half-full container is a major source of heat loss.
Is It Safe to Use a Glass Container in a Thermal Bag?
You technically can, but it’s not your best bet for travel. Glass is a poor insulator, meaning your food will get cold much faster than it would in a purpose-built container. It’s also heavy and comes with the obvious risk of breaking—the last thing you want to deal with on a hike or during your commute.
For better performance, safety, and convenience, an insulated container made from stainless steel or food-grade silicone is the way to go. The HYDAWAY Insulated Food Bowl is a perfect example—it’s durable, lightweight, holds heat like a champ, and collapses down after you eat to save precious space in your bag. For anyone on the move, it’s a much smarter choice.
Ready to upgrade your on-the-go meals and enjoy a hot lunch anywhere? The HYDAWAY Insulated Food Bowl is designed for the modern traveler, offering superior heat retention in a collapsible, space-saving design. Discover the perfect solution for your next adventure at https://myhydaway.com.


