


Van Life Water Storage: Complete Guide to Hydration

You're a few days into a trip, the sink is slowing down, the tank gauge is guessing, and you're rationing the last of the clean water because the next refill isn't obvious. That's the point where van life water storage stops being a build detail and starts being a daily quality-of-life issue. Get it wrong, and you're constantly thinking about taps, showers, and whether the next stop has safe water. Get it right, and the whole van feels calmer, lighter, and easier to live in.
Understanding Van Life Water Storage Basics
Water is the resource you feel immediately when the system is off. If you've ever paused a shower halfway through because the tank was smaller than your habits, you already know that capacity matters, but it's not the only thing that matters. Weight, refill frequency, and hygiene all shape whether a setup works in practice or just looks good on paper.
A common baseline in van planning is about 1 gallon per person per day for drinking and basic use, while more comfort-focused planning often assumes 2 gallons per person per day. Independent van-life guidance also shows how quickly that adds up, a 20-gallon tank may last one person about 5 to 7 days with conservative use, but only 2 to 3 days with daily quick showers and normal cooking and drinking. For a couple, the same guidance points to 30 to 50 gallons depending on habits and refill tolerance. Van life water requirements and tank-use examples
The hidden trade-off is weight
A full water tank changes how the van drives, how much cargo you can carry, and where you can safely mount equipment. That's why many builds settle into the 20 to 30 gallon range, even when the owner wants more comfort. Space inside a van is tight, and every gallon you carry is another pound the suspension has to live with.
Practical rule: Don't size water storage by the biggest tank that physically fits, size it by the amount of water you actually use between refills.
Freshwater and greywater also need to stay separate. Freshwater is what you drink and cook with, greywater is what comes back from the sink or shower. Mixing those systems, even accidentally, turns a comfort system into a hygiene problem fast.
If you're building from scratch, start by listing your daily water habits, then decide what you can live without. A simple galley-only rig with minimal washing needs a very different plan from a van where you shower onboard, cook daily, and stay off grid for stretches. For a practical gear overview, the van life essentials list is a useful companion when you're deciding what deserves space in the build.
Calculating Your Exact Water Needs
The cleanest way to size a tank is to treat water like a budget. List every daily use, assign a rough gallon figure to each, then multiply by the number of days you want between refills. One van-build guide recommends planning for at least 7 days of daily demand for full-timers and at least 3 days for weekend use, which forces you to think in refill intervals instead of wishful thinking. Van water system sizing method

A simple calculation that actually works
Start with a normal day, not your best-case day. Include drinking, cooking, dishes, face washing, and showers if you take them onboard. If you're not sure what each task uses, estimate conservatively and then add a little buffer for heat, dusty roads, or a day when you cook more than usual.
A practical campervan planning rule puts daily use at 1 to 4 gallons per person per day, and a worked example says a couple using about 2 gallons each per day for a full week would need at least a 28-gallon fresh water tank to avoid midweek refills. That's a useful target because it connects behavior to tank size. If you cook every day, wash dishes onboard, and shower inside the van, your tank should be sized for that lifestyle, not for the minimalist version of yourself. Campervan water system planning example
Here's a practical way to think about common setups:
| Travel style | Typical use pattern | Storage implication |
|---|---|---|
| Weekend travel | Light cooking, short stays | Smaller capacity can work if refills are easy |
| Full-time living | Daily cooking and washing | A larger tank or modular system makes sense |
| Shower-onboard build | More water per day | Refill frequency rises quickly |
| Drinking-only carry | No sink dependence | Separate portable bottles work well |
A 25-gallon tank can feel huge when you're conservative, and tiny when you're using the sink all day.
One van-life example described a 33-gallon tank lasting 11 days, with about 25 gallons going to five showers at roughly 5 gallons per shower and only 8 gallons covering teeth brushing, face washing, drinking, cooking, and dishes. Another guide reports a 25-gallon tank being filled every 4 to 5 days in summer and every 7 to 10 days in winter, which shows how climate and shower habits can more than double refill frequency. Van water tank usage examples
The point isn't to chase a perfect number. It's to know your number well enough that you can choose a tank, jug, or collapsible bottle setup without guessing.
Choosing the Right Containers for Your Build
A van can hold a lot of water, but the question is how you want that water to live in the build. The container choice usually comes down to trade-offs. Fixed tanks keep the system tidy, portable containers give you flexibility, and collapsible gear solves a separate problem, daily carry without permanent bulk.
Four container types, four very different trade-offs
Rigid plastic tanks are the standard answer for bulk storage. They hold a lot, fit into a planned layout, and make plumbing straightforward. The trade-off is that the footprint stays fixed, which works well in a tight build but becomes annoying if you later want that cabinet space back.
Flexible bladders can slide into awkward voids and make use of spaces a rigid tank cannot fit. They work well when the van's shape dictates the storage area, especially around wheel wells or under benches. They are harder to inspect and usually more awkward to clean, so they make sense when space matters more than easy access.
Jerry cans bring modularity. You can carry one by hand, swap it out, or fill it away from the main system. The downside is secure mounting, because loose containers get old quickly on rough roads.
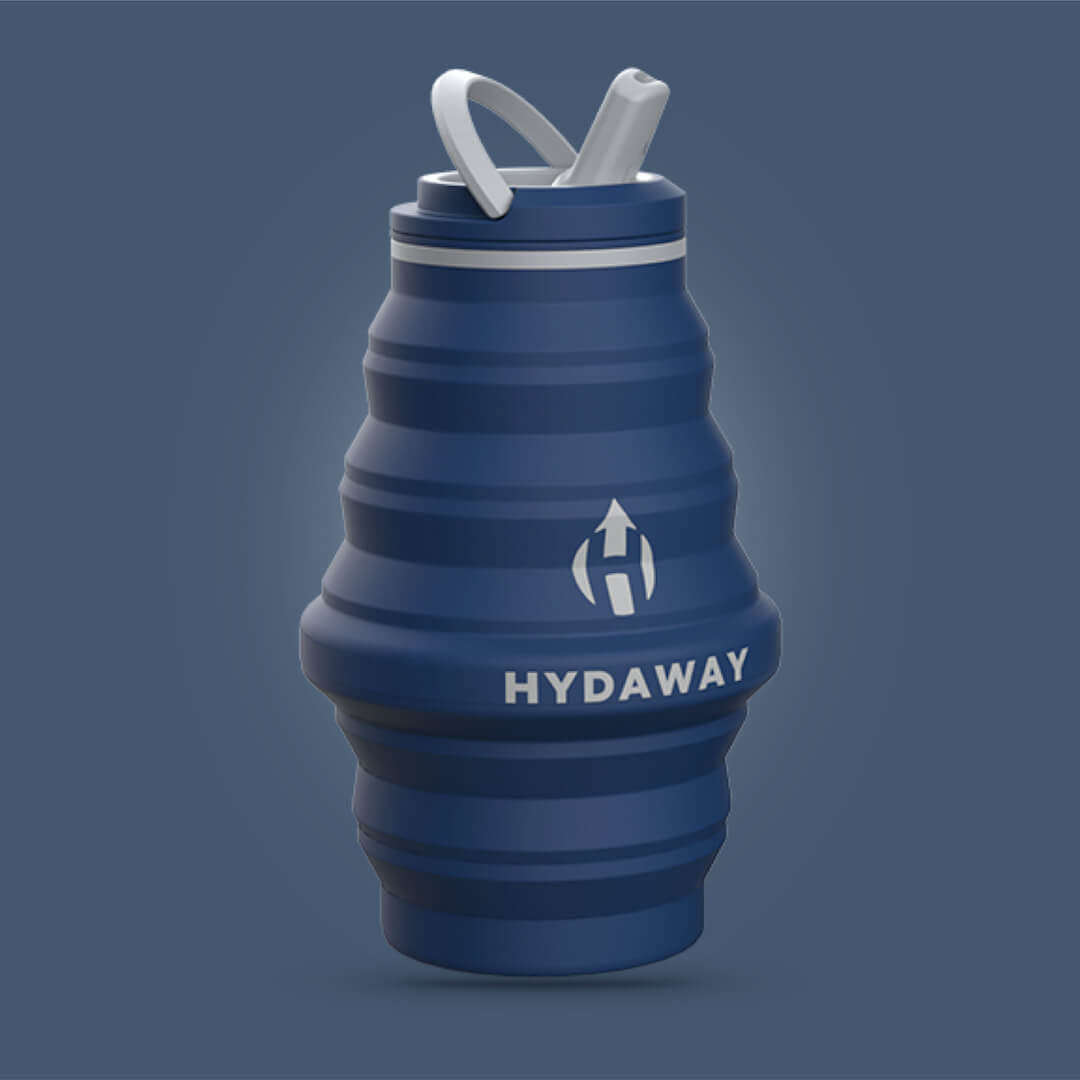
Collapsible bottles solve a different job. They serve a different purpose entirely, daily-use hydration gear rather than bulk storage. HYDAWAY's 17oz and 25oz collapsible bottles fold flat, then expand when you need them, so they fit van life without permanently taking cabinet space. That makes them a practical companion to a larger tank, not a substitute for one.

A real build often mixes container types instead of betting everything on one. A fixed tank can handle cooking and sink use, while a pair of collapsible bottles handle trail days, errands in town, or evenings when you want water at the seat without opening the galley. That split keeps the plumbing simpler and reduces how often the main drinking supply gets handled with dirty hands or cross-contaminated by day-to-day use.
Best fit often means two systems, not one. Bulk storage handles the van, portable drinkware handles you.
For many builds, the sweet spot is a fixed tank for the house side of the van and portable reusables for everything else. That reduces single-use plastic, keeps the cabinet from turning into a clutter trap, and gives you backup water if the plumbing is out of service. It also keeps drinking water separate from the mess of dishwashing, sink splashes, and the rest of daily use.
A straightforward calculation helps here. If you know your household-style use is closer to a tank that lasts several days, then the built-in system should cover that load, while the hand-carried gear should cover what you drink on the move. That is where the right hose setup for van water storage matters, because an awkward refill process gets skipped more often than it should.
If you are deciding between a permanent tank and a modular setup, ask one question first, how often do you want to carry water into and out of the van by hand? If the answer is often, smaller containers and collapsible gear deserve more weight in your plan. That is also where DIY water leak detection for homeowners is a useful habit to borrow, since catching a small leak early matters more in a cramped van than it does in a house.
Installing Your Tank and Basic Plumbing
The easiest tank to live with is the one mounted where the van wants to carry weight, low and centered near the wheelbase. That placement helps handling, keeps the load stable, and avoids the messy feeling of a heavy tank sloshing at the edges of the build. The tank still has to be secured properly, because even a good placement won't save a poorly strapped container.

The basic loop should stay simple
A practical system runs from tank to pump to faucet, with a vented fill path and food-grade hose throughout. That vent matters because it reduces pressure problems during filling, and food-grade parts matter because the water is supposed to stay potable. The fill path should also be easy to access, since awkward fill points tend to get neglected.
A lot of DIY van builds use a 12V diaphragm pump because it's compact and straightforward. The plumbing itself doesn't need to be fancy, but it does need to be reachable for leak checks and maintenance. In one real build report, the plumbing work was mostly a collection of small connectors and valves that tied the tank, pump, heater, filter, and accumulator into the sink and shower sprayer, which is exactly what this kind of system turns into in practice.
If you want a broader look at hose handling, the 100 ft water hose guide is a helpful reference when you're deciding how much reach you want at fill-ups and campsite hookups. For leak detection mindset, the way homeowners check plumbing issues in DIY water leak detection for homeowners is useful in a van too, because the habit is the same, find the drip before it turns into damage.
Do the install in the order that prevents rework
- Mount the tank securely. Straps or custom brackets should keep it from shifting under braking and cornering.
- Run the fill and vent lines. A vented fill path keeps filling smooth and reduces ugly pressure issues.
- Connect the pump and faucet. Keep the run short and accessible.
- Prime the system. Let the pump move water through the lines before you call it done.
- Check every joint. Tighten where needed, then recheck after a few days of driving.
If you can't reach a fitting without removing half the cabinet, you'll hate that fitting later.
Secure plumbing is also easier to maintain if you build in simple access points. A small access hatch can save hours later when you need to inspect a barb, clear air from a line, or swap a fitting after a road vibration loosens something. The best installs are the ones you can service without tearing the galley apart.
Maintaining Water Quality and Safety
Water can go stale before it goes empty. In a van, heat, sunlight, and long storage time all work against you, so a setup that looks clean on day one still needs consistent habits to keep it safe. Food-grade containers and hoses are essential, and the storage area should stay out of direct sun whenever possible. Practical ways to store water for off-grid van camping
Fresh water needs a storage habit, not just a container
Stored water should be rotated regularly. Practical guidance points to replacing or rotating stored water every 6 to 12 months, while Oregon State University Extension recommends replacing stored water every six months and keeping it in a dark, dry, consistently cool space away from strong odors and cleaning chemicals. The same source recommends storing 1 gallon per day per person and pet for at least 3 days, preferably 2 to 4 weeks. Oregon State University Extension water storage guidance
That advice matters in a van because warmth speeds up problems. A bottle sitting behind a cabinet wall in summer heat is a very different environment from a cool pantry at home. If you're storing water for more than a short trip, the container itself is part of the safety system, and so are the habits around it.
Filtration helps, but it does not cover every problem. Sediment filters can catch particles, activated carbon can improve taste and odor, and UV purification adds another layer where the system is designed for it. None of those replace cleaning habits, and none of them fix a contaminated tank if freshwater and wastewater cross paths.
For cleaning routines, the hydration bladder cleaning guide is a useful reminder that reusable water gear needs regular care. The same logic applies to van tanks and jugs, rinse them, dry them when possible, and do not let residue sit for weeks. A small container that gets cleaned often can be more reliable than a larger one that is neglected.
Practical rule: Turn the tap off whenever you are not actively using water, because small habits extend tank life faster than most upgrades.
Bearfoot Theory specifically advises turning the faucet off whenever possible during hygiene routines, and that habit lines up with real van use. One careful shower can use just under 3 gallons, while sink wastewater can run 2 to 4 gallons per day in a full-time setup that cooks frequently. That means dish habits and shaving habits matter almost as much as tank size. Conserving water in van life
Water quality also depends on leak control. A slow drip can pull dust into fittings, waste stored water, and leave standing moisture where bacteria and mildew can grow. Routine inspections should include every hose clamp, pump joint, and fitting you can reach, along with quick visual checks under the sink and around the tank after driving. For a homeowner-style approach to spotting trouble early, DIY leak checks for homeowners is a useful reference point.
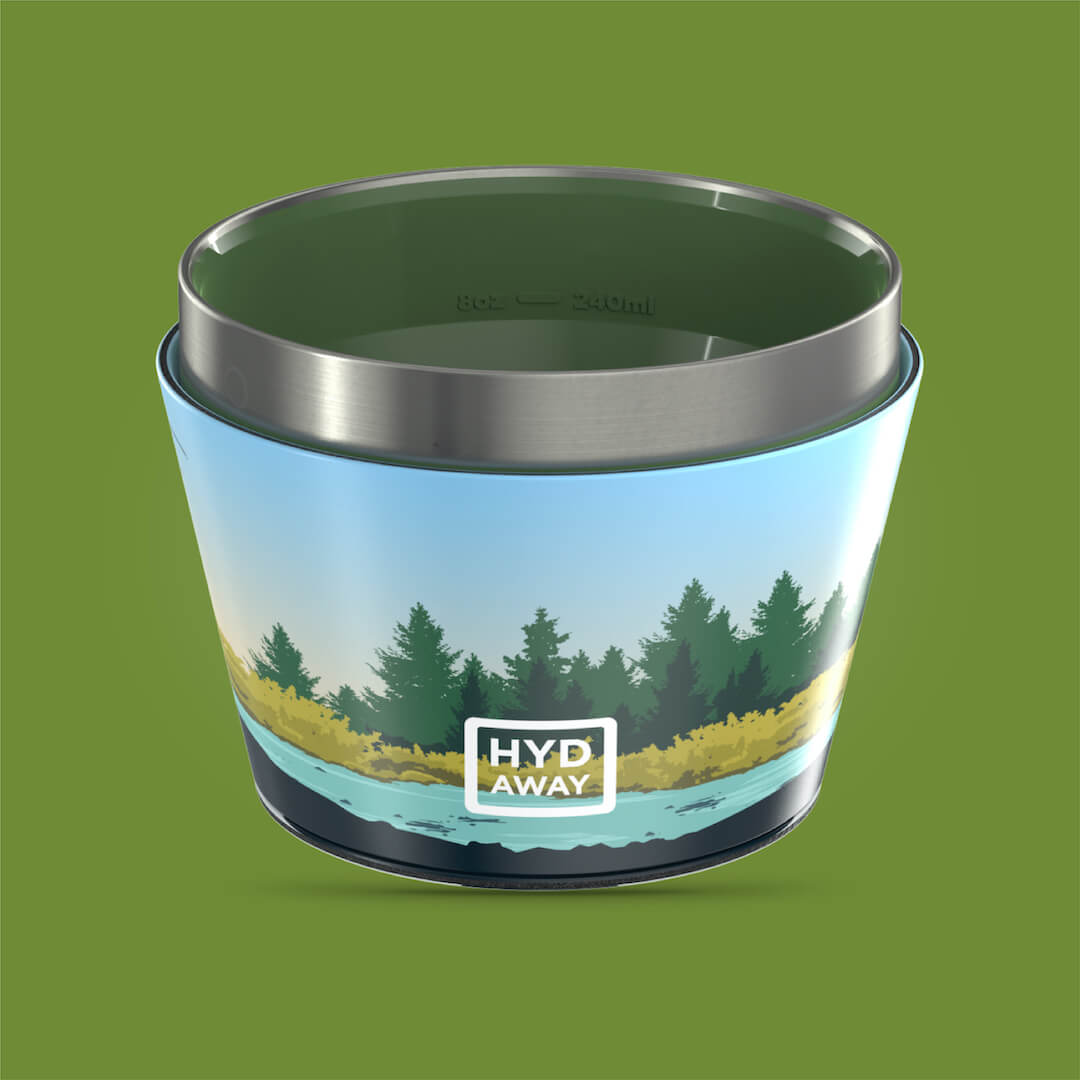
This is also where compact reusables earn their keep. HYDAWAY's collapsible bottles and compact drinkware reduce the temptation to rely on disposable containers, and they make it easier to keep a personal drinking setup separate from the galley plumbing. In practice, that means less mess, less waste, and less handling of your main supply.
Winterizing and Seasonal Care
Cold weather changes everything. A system that works beautifully in summer can crack, freeze, or stop flowing once temperatures drop, and the damage usually shows up when you're far from the hardware store. That's why seasonal care isn't extra maintenance, it's how you keep the van usable.

Prepare the system before the first hard freeze
Drain the tank completely if the van is going into freezing conditions. Blow out the lines with compressed air, remove filters, and store them indoors if you can. Antifreeze belongs in greywater lines only, never in freshwater, because the drinking side has to stay clean.
Your seasonal checklist should also include weight and balance. A full tank changes the van's handling differently from an empty one, and the difference becomes more noticeable when cargo shifts too. In summer, you may choose a larger on-board water load for convenience, while winter travel often rewards simpler carry habits and more conservative use.
There's a useful psychological benefit to seasonal adjustment too. If you know you're heading into colder weather, you can decide ahead of time whether you want convenience or lightness. That choice should be made before the first cold night, not after the lines are already frozen.
The embedded winter-prep video below is worth watching if you want a visual check on the process.
A pre-trip inspection doesn't need to be complicated. Confirm the tank is empty or full enough for the trip plan, check for cracks, make sure filters are installed correctly, and test every pump connection before you leave. If anything smells off, tastes off, or drips when it shouldn't, fix it on the driveway, not on the road.
A winter-ready van water system is really a habit system, drain, dry, inspect, then fill again when the weather changes.
If your travel style shifts with the season, your water gear should shift too. Collapsible bottles and reusable drinkware make that easier because they pack flat when you don't need them and expand when you do, which is useful whether you're in shoulder-season travel or just trying to keep the van uncluttered in winter.
HYDAWAY makes compact, reusable hydration and drinkware that fits the way van travelers move, with collapsible bottles and packable gear that save space without turning daily water into a hassle. If you're building a smarter van life water storage setup, visit HYDAWAY and look at options that support both bulk storage plans and everyday carry.