


Your Guide to Choosing the Perfect Camping Dry Bag

A good camping dry bag is your best insurance policy against the wild, unpredictable elements. It's the one thing standing between your expensive phone or warm sleeping bag and a trip-ruining downpour. Think of it as a personal, portable vault for your most important gear.
What it really does is turn a potential disaster—like a capsized kayak or a soaked tent—into just another great story to tell around the campfire.
Why a Dry Bag Is Your Most Important Piece of Gear

Picture this: you're two days into a kayaking trip and your boat flips. Or maybe an unexpected thunderstorm soaks your campsite halfway through a backpacking weekend you've been planning for months.
In moments like these, the line between a minor headache and a real problem is whether your essentials are sealed tight in a dry bag. We’re talking about your change of clothes, your electronics, and especially your sleeping bag. This simple piece of gear is way more than just a waterproof sack—it’s a core part of any smart adventurer's strategy.
For anyone who loves the outdoors, especially near water or in places with moody weather, a solid dry bag is simply non-negotiable.
More Than Just a Bag
The true value of a dry bag goes way beyond just saving you from those catastrophic moments. Its real genius is in how useful it is for everyday adventures, giving you peace of mind and keeping your stuff organized.
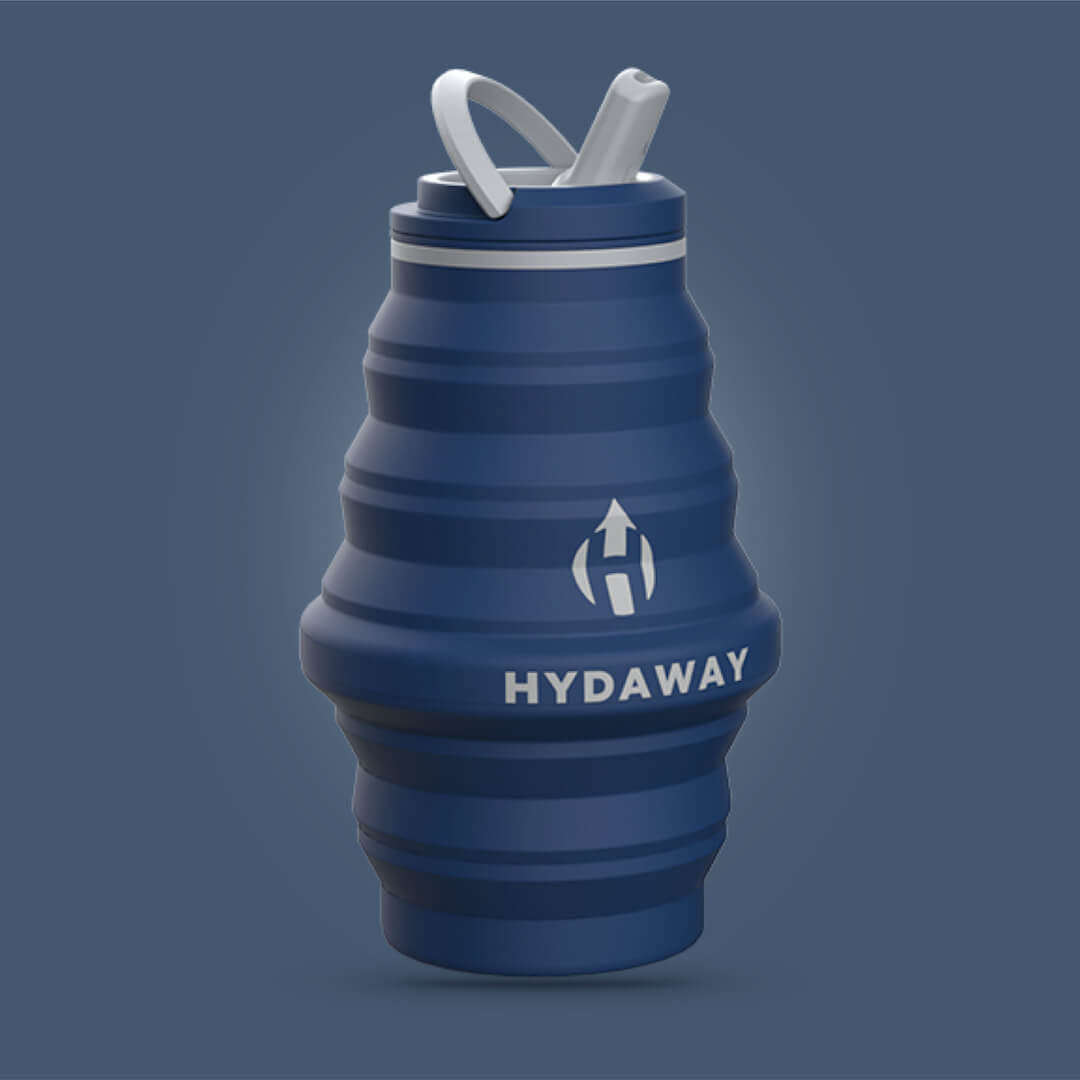
- Beach Days: Keep your phone, keys, and snacks totally free from sand and salt spray. You can even toss a collapsed HYDAWAY Collapsible Bottle in your beach bag, knowing it won't get gritty or leak on your towel.
- River Crossings: Wade across that river with total confidence, knowing your first-aid kit and camera are safe and dry.
- Motorcycle Camping: Strap your sleeping gear to the back of your bike and know it’ll stay bone-dry through rain and road spray, just like pro moto-campers experienced on their fall 2024 trips.
- Van Life: Protect your sensitive electronics from the condensation that builds up inside a van, a surprisingly common issue.
A dry bag isn't just another accessory; it's a complete system for protecting the gear that protects you. It gives you the confidence to push your adventures a little further, knowing your critical items are safe from whatever comes your way.
That mindset is key, whether you're just starting out or you've been exploring for years. At the end of the day, not all dry bags are made the same. Learning the differences in materials, construction, and closure types is what separates a basic pouch from a truly reliable piece of survival gear. That knowledge is power—it lets you choose the right bag for your adventures, making sure every trip is a good one.
How Waterproof Ratings and Materials Keep Your Gear Safe
When you see the word “waterproof” slapped on a piece of gear, it’s easy to assume it means total, absolute protection. But in the world of outdoor equipment, especially for a camping dry bag, that term covers a whole lot of ground. Not all waterproof gear is created equal.
Think of it like this: your favorite water-resistant jacket is great for a surprise drizzle on your walk to the coffee shop, but you wouldn't trust it in a torrential downpour. At the other end of the spectrum, a deep-sea submersible is built to handle crushing pressure miles underwater. Dry bags exist somewhere on that same scale.
This need for truly reliable protection has turned dry bags into a massive industry, valued at around $1.5 billion in 2024 and only expected to keep growing. If you want to dive into the numbers, market research on the dry bag industry shows just how many of us are looking for better ways to protect our stuff. The key is matching the bag’s design to the real-world risks of your trip—whether that’s a freak rainstorm on the trail or a full-on capsize in a kayak.
Decoding IPX Waterproof Ratings
The most important spec you’ll run into is the IPX rating. This is a simple, standardized system that tells you exactly how much water a bag can fend off. The "X" just means it wasn't tested for dust, while the number after it is all about water.
Here’s what those numbers actually mean for your camping dry bag:
- IPX4 (Splash-Proof): This bag can handle splashes from any direction. It’s your basic drizzle protection, perfect for keeping things dry inside a tent during a shower, but you wouldn’t want to drop it in a river.
- IPX6 (Powerful Water Jets): Built to withstand high-pressure sprays. This is a solid choice for things like motorcycling, ATVing, or boating, where your bag might get blasted with heavy rain or road spray.
- IPX7 (Temporary Submersion): Can be dunked in up to 1 meter of water for 30 minutes. This is the sweet spot for most water sports, giving you real peace of mind if your bag takes an unexpected swim.
- IPX8 (Continuous Submersion): This is the submarine-level stuff. These bags are designed for submersion deeper than 1 meter for long stretches. If you have gear you absolutely, positively cannot afford to get wet, this is your rating.
Choosing the right IPX rating isn't about getting the highest number—it's about being practical. If you just need to keep a spare jacket dry inside your main backpack, an IPX4 bag will do the job. But if you're protecting your expensive camera on a whitewater trip, you'll sleep better at night with an IPX7 or IPX8 bag.
Why Seams and Closures Matter Most
A bag’s fabric is only as good as its weakest links: the seams and the closure. This is where you can really tell a quality bag from a cheap knockoff.
A dry bag's effectiveness isn't just about the fabric; it's about the integrity of its construction. Welded seams and a properly sealed closure are what transform a simple sack into a dependable vault for your gear.
Most budget-friendly bags use seams that are stitched and then taped over. While that’s better than nothing, every one of those needle holes is a potential failure point that will leak under pressure. High-quality dry bags, on the other hand, use welded seams. This process uses heat or radio frequencies to literally melt the material together, creating a single, waterproof bond that’s as strong as the fabric itself.
The closure system is just as crucial. You'll generally find three types:
- Roll-Top: This is the classic design for a camping dry bag. You simply fold the top down at least three times and snap the buckle shut to create a seriously water-resistant seal. It's simple, reliable, and works for almost anything, from backpacking to paddleboarding.
- Zipper Seal: Think of the beefy, airtight zipper on a high-end cooler. These create a completely watertight seal, often hitting that IPX7 or IPX8 rating, which makes them fantastic for gear that needs full submersion protection.
- Slide-Seal: You’ll see this on smaller pouches for phones or maps. Two plastic channels slide and click together to form a seal. It’s great for quick access and full protection, but you'll usually only find it on smaller bags.
For a casual hiker, a simple roll-top bag is perfect for keeping their essentials dry. But for a sea kayaker with a phone, GPS, and camera, investing in a bag with welded seams and an IPX7-rated zipper seal is the only way to go.
Choosing the Right Dry Bag Size and Material
Picking the perfect camping dry bag often feels like a trade-off. You're trying to find that sweet spot between capacity and weight, or durability and how small it can pack down. Get it right, and your bag becomes an unsung hero of the trip. Get it wrong, and it’s just a clumsy, awkward piece of gear you have to lug around.
Think of it like this: you wouldn't take a tiny sports car on a rugged off-road adventure, right? And you wouldn’t fire up a huge RV just to run to the corner store. Your dry bag is no different—the size and material have to match the journey you have in mind.
Matching Dry Bag Size to Your Adventure
Dry bag capacity is measured in liters (L), but let’s be honest, those numbers don't mean much until you start stuffing gear inside. Choosing the right size is crucial. Go too small, and you’re leaving essentials behind. Go too big, and you’ll have a floppy, half-empty sack that’s a pain to seal properly.
Let's break down what those liter sizes actually mean for your gear.
A small 5L dry bag is your best friend for quick outings where you just need the basics. It’s perfect for a day paddle on the lake, giving you just enough room for your phone, wallet, keys, and a HYDAWAY Collapsible Water Bottle. Your pockets stay empty and your valuables are safe from splashes.
When your trips get a bit more ambitious, so does your gear list. A 20L to 30L bag hits the mark for most weekend campers. A 30L bag, for example, can easily hold a compressed sleeping bag, a change of clothes, and a few small electronics. It’s a fantastic choice for an overnight kayak trip or a motorcycle camping weekend.
For those epic, multi-day expeditions like a week-long rafting trip, you’ll be looking at the big guns: 50L and up. These bags act as the main gear haulers, keeping tents, food, and clothes for the whole crew bone-dry.
To make it even simpler, we've put together a handy guide to match your bag to your next adventure.
Matching Your Dry Bag to Your Adventure
| Bag Size (Liters) | Best For | Typical Contents |
|---|---|---|
| 5L-10L | Day trips & personal items | Phone, keys, sunscreen, snacks, a small water bottle. |
| 15L-20L | Overnight essentials & layering | An extra layer, a small towel, lunch, and core gear inside a bigger pack. |
| 30L-40L | Weekend adventures | A sleeping bag, a couple of outfits, and other key camping items. |
| 50L+ | Extended trips & group gear | Tents, winter clothing, food supplies, or gear for multiple people. |
This table should give you a solid starting point for figuring out what you really need.
Selecting the Right Dry Bag Material
Once you've zeroed in on a size, the next big decision is the material. This choice affects your bag’s toughness, weight, and how small it packs down. You'll mainly find two players in the game: heavy-duty PVC and various lightweight coated nylons.
PVC (Polyvinyl Chloride): This is the heavyweight champ of dry bag fabrics. It's incredibly rugged, stands up to serious scrapes and abuse, and is completely waterproof. Its tough-as-nails construction makes it the go-to for any activity where your bag is going to get knocked around.
Go with PVC when durability is everything. It's made for being strapped to the side of a raft, tossed in a truck bed, or dragged across a rocky shoreline. The trade-off? PVC bags are heavier and bulkier, so they don’t pack down as neatly.
Nylon (Coated or Laminated): On the other side, you have lightweight nylons, often treated with silicone (Silnylon) or a polyurethane (PU) coating. These materials are way lighter and more flexible than PVC, squishing down to a tiny fraction of their size. It’s no wonder they’re a favorite of ultralight backpackers and anyone who counts every single ounce.
This image shows the key features that make a dry bag reliable, no matter the material.

It really comes down to the combination of a solid closure system, waterproof seams, and a trustworthy IPX rating.
So, which is for you? If you’re a backpacker just trying to keep your down sleeping bag dry inside your main pack, a lightweight Silnylon sack is a no-brainer. But if you're a kayaker or motorcycle camper whose bag is constantly exposed to the elements—like the folks who field-tested their gear on some gnarly fall trips in 2024—the rugged security of PVC is a much smarter move.
How to Pack Your Dry Bag for a Watertight Seal

Here's a hard-earned lesson from the trail: the best camping dry bag in the world won’t save your stuff if you don’t know how to pack it. A lazy roll or a bag stuffed in a hurry can turn your waterproof insurance policy into a leaky, morale-crushing disappointment.
The secret to a truly watertight seal isn't really a secret at all. It’s a simple technique. But getting it right is everything.
Think of it like sealing a zip-top freezer bag. If you just zip it across without pushing the air out and checking the seal, you’re practically asking for freezer burn. A dry bag works the same way—a proper seal is non-negotiable.
Master the Three-Fold Rule
For any roll-top dry bag, the "three-fold rule" is your golden ticket. This simple method creates a secure barrier that stands up to splashes, downpours, and even a quick, accidental dunk in the river. It's the one step you never, ever skip.
Here’s how to nail it every time:
- Purge the Air: Once your bag is packed, give it a good squeeze to push out as much extra air as you can. Trapped air makes it tough to get a tight roll and puts stress on the seams.
- Align the Strips: Grab the two stiff strips at the top of the bag and bring them together. Make sure they’re perfectly flat and aligned.
- Fold, Don't Roll: Instead of loosely rolling the top, make a clean, crisp fold about an inch wide.
- Repeat Three Times: Fold it over again, and then a third time. Each fold creates another baffle that water has to defeat. For most bags, three folds is the magic number.
- Buckle Up: Clip the ends of the buckle together. The straps should be snug, but not so tight that they’re warping the folds. You want it secure, not strangled.
This is the technique that makes the difference between your gear surviving a creek-crossing stumble and you finding a puddle at the bottom of your pack.
Organize Your Gear with a Modular System
A single, cavernous dry bag is a recipe for frustration. Every time you open it to find one small thing, you break that perfect seal and expose everything to the elements. The pro move is to create a modular system with smaller, color-coded dry sacks inside.
For instance, you might use a small red sack for your first-aid kit, a blue one for electronics, and a green one for snacks. This keeps you organized, adds a backup layer of water protection, and lets you grab exactly what you need in seconds. It’s a core strategy for anyone trying to learn how to pack a backpack efficiently for any trip.
By creating a system within your main camping dry bag, you minimize the time the bag is open and vulnerable. This method keeps your gear organized, protected, and ready for action at a moment's notice.
This system is also where space-saving gear really gets to shine.
Use Collapsible Gear to Maximize Space
Packing a dry bag is a game of Tetris where every square inch counts. Bulky, air-filled items are your worst enemy. This is exactly why HYDAWAY's collapsible gear feels like it was made to be partners with a dry bag system.
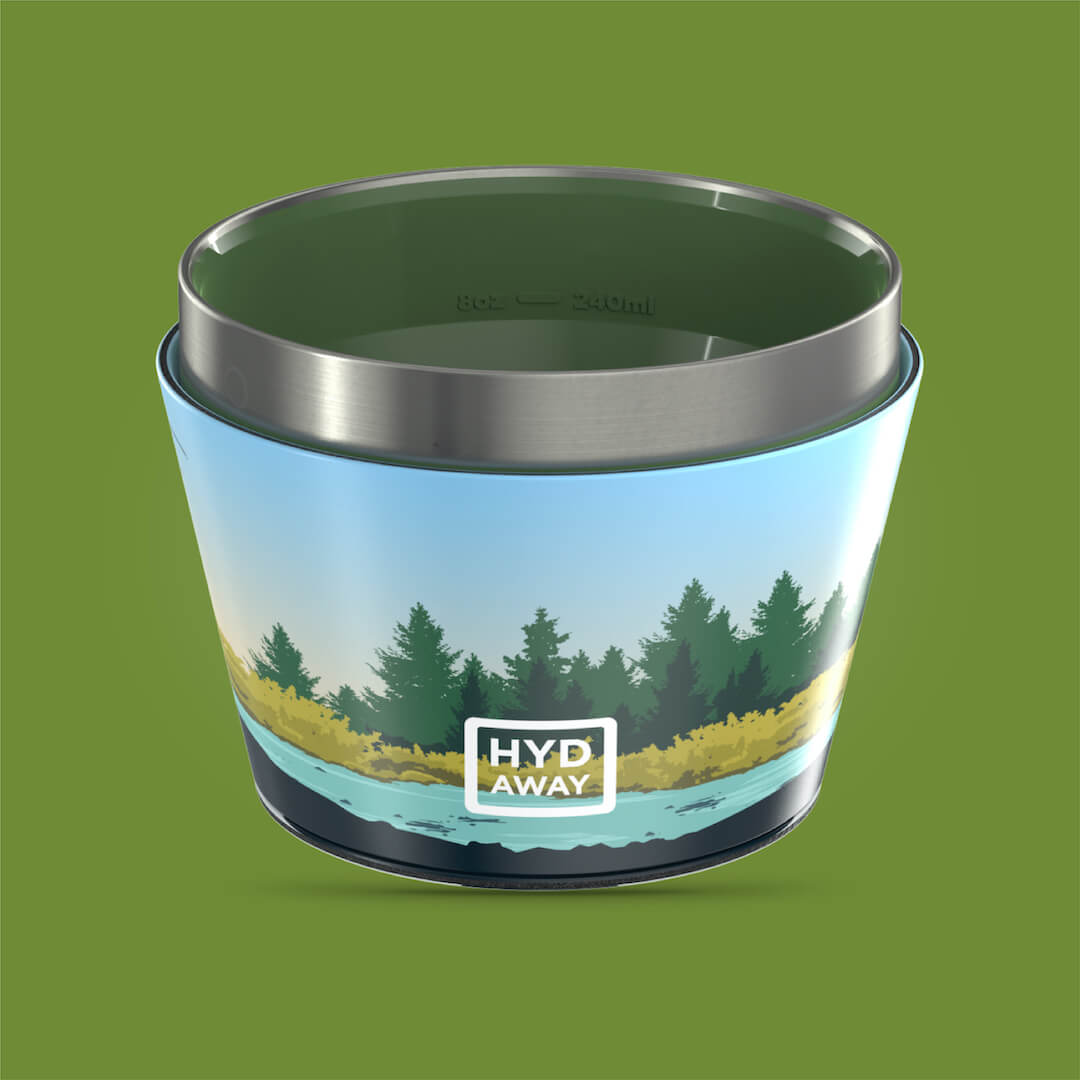
Instead of wrestling with a rigid, empty water bottle, you can flatten a HYDAWAY Collapsible Bottle and slide it against the inner wall of the bag, where it takes up almost no space at all. The same goes for mealtime. Imagine stopping for lunch on the trail. Your food is packed in an Insulated HYDAWAY Bowl, safe from getting squished and totally contained by the spill-proof lid. You pop it open, enjoy your meal, then collapse it flat again before packing it away. This one simple swap saves a massive amount of space compared to a traditional food container, making your dry bag far more efficient and your pack a whole lot lighter.
Dry Bag Uses for Every Kind of Adventure

Think of a dry bag as the unsung hero of your gear closet. It’s not just for one type of trip—it’s the chameleon of outdoor equipment, changing its role to fit whatever adventure you’re on, from misty mountain trails to sun-drenched coastlines.
The obsession with the outdoors here in North America is a huge reason this simple bag has become so reliable. We’re always looking for better, smarter gear, which explains why a massive 40% of all dry bag sales happen right here. It’s not just a piece of gear anymore; it’s a core part of how we get outside.
So, how are people actually using these things? Let's get into it.
For the Kayaker and Paddleboarder
If your adventures happen on the water, a dry bag isn't just nice to have—it’s an absolute necessity. A kayaker lashing a bright yellow dry bag to their deck isn’t just doing it for show; they’re trusting it to keep their extra fleece, phone, and lunch safe from constant spray or an unexpected flip.
Picture yourself paddling out to that perfect, secluded spot for a meal. Tucked safely inside your camping dry bag, your food stays dry and clean. You can even bring your favorite hot soup or chili in a spill-proof HYDAWAY Insulated Bowl. That peace of mind lets you focus on your paddle and the view, not on what’ll happen to your gear if you take a quick swim.
For the Backpacker and Hiker
On the trail, every ounce and inch of space counts. This is where an ultralight dry bag really shines, playing a few different roles for the smart backpacker. First, it’s a fantastic pack liner, giving you a waterproof shield against a surprise downpour.
For a backpacker, a dry bag is more than just water protection; it's an organizational tool and a compression sack. It protects your most critical piece of gear—your sleeping bag—from the moisture that can ruin its insulating power.
A down sleeping bag, for instance, is completely useless when it’s wet. By stuffing it into a dry bag and squeezing all the air out, you not only guarantee it stays bone-dry but also shrink it way down. That move alone can free up a surprising amount of room in your pack.
For the Van-Lifer and Car Camper
Life on four wheels has its own set of quirks, and a dry bag can solve more problems than you’d think. For anyone living the van life, condensation is a constant battle. Stashing your laptop, camera, and other sensitive electronics in a small dry bag is your best defense against moisture sneaking in and causing damage.
But they're useful for so much more on the road. A larger dry bag can double as:
- A Makeshift Laundry Bag: Nothing’s better for keeping dirty, smelly clothes contained until laundry day.
- A Portable Sink or Basin: Need to wash up or do some dishes? A well-sealed dry bag holds a few liters of water and instantly becomes a camp sink.
- Emergency Water Transport: If you need to haul water from a stream back to your site, a durable dry bag can handle the job in a pinch. To make this even easier, you could pack a large, collapsed HYDAWAY bottle, which is designed specifically for carrying water and takes up almost no space.
For Niche Adventures
Dry bags aren't just for the usual camping trips. They are clutch for protecting your phone, wallet, and keys during all kinds of water-adjacent activities. When you’re gearing up for a special trip, knowing what you need is half the battle. Just look at the list of essential gear for your Kona diving adventure—keeping your personal items dry on the boat is a top priority.
From a simple day at the beach protecting your phone from sand and waves to a multi-day expedition where it’s guarding your survival gear, a camping dry bag is one of the most adaptable pieces of equipment you can own.
Common Dry Bag Mistakes and How to Avoid Them
Even the toughest, most expensive camping dry bag on the market is only as good as the person using it. We’ve all heard the horror stories—or lived them—of reaching into a pack after a downpour or a flipped canoe, only to find a soul-crushing puddle of water where your phone used to be.
These are the kinds of mistakes you usually only make once. Learning to avoid them before you're standing in the rain with a soaked sleeping bag is just as critical as picking the right gear in the first place.
The Over-Stuffing and Under-Filling Trap
It’s tempting to cram every last inch of a dry bag full to maximize space. The problem is, this puts a ton of stress on the seams and leaves you with no fabric to get that crucial watertight seal. You need some slack to get a clean, tight roll.
But the opposite is just as bad. A half-empty bag is too floppy, and the roll-top closure won't have enough structure to form a solid seal. A loose, flimsy roll is an open invitation for water to sneak in.
- The Fix: The sweet spot is about two-thirds full. This gives the bag enough body to create a firm seal without straining the material.
Forgetting to Pad Sharp Objects
Packing pointy gear without a buffer is like asking for a puncture. The corner of a camp stove, a tent pole, or even a set of keys can easily wear down or tear through the waterproof fabric from the inside, especially when things get jostled around.
A tiny, unseen pinhole is all it takes to ruin the whole point of the bag. One of our friends learned this the hard way on a 2024 motorcycle camping trip. He’d tossed his multi-tool in his bag, and the bumpy ride was all it took to rub a hole right through it.
A dry bag's fabric is tough, but it's not invincible. Think of it like a balloon—even a small pinprick can cause total failure. Always pad or wrap sharp gear before packing.
Not Testing Your Bag First
You should never, ever trust a brand-new dry bag with your expensive camera or phone straight out of the box. Manufacturing defects are rare, but they happen. The only way to know for sure that your bag is ready for action is to give it a quick test run.
It’s easy. Just seal some air inside, close it up, and submerge it in a bathtub or sink for a few minutes. Give it a gentle squeeze and watch for any tiny streams of air bubbles. If you see bubbles, you've found a leak.
This simple five-minute check can save you hundreds of dollars and a world of frustration. It's a non-negotiable step before any trip, and it also doubles as great practice for perfecting that three-roll seal. Make it a habit, and your camping dry bag will have your back when you need it most.
Your Camping Dry Bag Questions, Answered
Even the most experienced adventurers run into questions about their gear. A camping dry bag seems simple enough, but a few key tips can make all the difference between a dry sleeping bag and a soggy mess. We get these questions all the time, so let's clear them up.
Can I Actually Dunk My Dry Bag?
This is the big one, and the honest answer is: it depends. Think of your standard roll-top dry bag as splash-proof and dunk-proof for quick, accidental dips. It’s perfect for a flipped kayak or a dropped bag while crossing a stream. They’re highly water-resistant, but they aren't meant for long swims.
If you need something truly submersible, you have to dig into the bag’s specs. For gear that absolutely must stay dry underwater, look for an IPX8 rating paired with a heavy-duty, airtight zipper. Always, always check the manufacturer's guidelines before you trust your camera or phone to a deep dive.
How Do I Clean and Store It?
A little bit of care goes a long way in making your dry bag last. After any trip, and especially after being near saltwater, give the bag a good rinse inside and out with fresh water. For any stubborn grime, a bit of mild soap and water will do the job.
Here's the most important part: make sure your bag is 100% dry before you put it away. Any trapped moisture can quickly turn into mildew, which will ruin the waterproof lining. Once it's bone dry, store it loosely rolled in a cool, dark place away from the sun.
What's the Best Way to Pack a Big Dry Bag?
Packing a single, large dry bag can feel like searching in a bottomless pit for that one missing sock. The pro move is to create a system. Use smaller, different-colored dry sacks or packing cubes for different categories of gear, then load them into the main bag.
This strategy is a game-changer for a few reasons:
- Find Things Fast: You'll know that your food is in the green sack and your warm layers are in the blue one. No more frantic digging.
- Double Down on Protection: It creates an extra barrier against water, just in case.
- Pack Smarter: It's the perfect way to use collapsible gear. A flattened HYDAWAY bottle or bowl can slide right between other sacks, taking up almost zero space until you need it.
Ready to make your packing system more efficient and sustainable? HYDAWAY has a whole lineup of collapsible, space-saving gear that works perfectly with any dry bag setup. Check out our collection of ultra-portable bottles, bowls, and more at https://myhydaway.com.