

Product Testing Methodology: A Practical Guide for 2026

You're packing for a weekend trip, trying to keep one bag under the airline seat. A bottle gets tucked beside a sweatshirt, a bowl slides into the side pocket, and everything seems fine until you unzip later and find moisture where your dry clothes should be. That moment is why product testing methodology matters. For travel and outdoor gear, failure doesn't happen in a showroom. It happens on a trail, on a train platform, in a campervan sink, or during a rushed commute between meetings.
Good gear has to survive the conditions people live in right now. Not ideal conditions. Real ones. Tight spaces, rushed packing, drops onto rough surfaces, vibration in a car, temperature swings, and repeated cleaning after long days outdoors. A solid product testing methodology turns those messy realities into a repeatable process teams can learn from.
Why a Rugged Product Testing Methodology Matters
A weak test process usually creates a strong first impression and a poor ownership experience. The product photographs well, the prototype feels promising on a desk, and the launch goes live. Then customers start using it in motion. They stuff it into a daypack, leave it in a hot car, rinse it at a campground, or open it one-handed on a crowded subway platform. That's where shortcuts show up.

Most guides still frame testing around home use, even when the product is meant for movement. That's a real problem for portable gear. Highlight's overview of consumer product testing notes that 78% of travel-category product tests in 2024–2025 were conducted in standard residential settings, not mobility contexts, leading to 32% higher post-launch failure rates for portability claims.
The cost of testing in the wrong environment
A kitchen counter is useful, but it won't tell you what happens when a bottle gets knocked sideways in a packed tote or when a lid gets twisted shut in a moving vehicle. A living room usability session may confirm that a product looks intuitive. It won't reveal how that same product behaves when someone is cold, distracted, and trying to eat lunch off their lap before boarding starts.
Practical rule: If the product is designed for motion, test it in motion.
That same thinking applies beyond hydration gear. If you're evaluating rolling beach gear, details like rust-resistant beach wagon frames matter because salt air, wet sand, and repeated loading create failure patterns you won't see in a clean indoor setup.
Confidence comes from repeatable stress
A rugged product testing methodology isn't bureaucracy. It's a way to build trust before a customer ever touches the product. Teams that care about long-term performance usually combine real-world scenario testing with documented quality gates, material checks, and pass-fail criteria. HYDAWAY's own thinking on quality assurance standards reflects that broader discipline. You need a process that asks, early and often, “What could go wrong in the exact setting this product was made for?”
When that process is missing, the customer becomes the test lab. That's expensive for brands and frustrating for travelers.
Understanding Core Product Testing Principles
A product testing methodology is a framework, not a pile of random checks. It works more like a house blueprint. Before anyone pours concrete or hangs drywall, they need to know what the structure must handle, how it will be used, and what failure would look like. Product teams need the same discipline.

A practical framework usually comes down to four principles.
Define the question before you touch the product
Start with a specific question. Not “Is this good?” Something tighter. Will the seal hold when the item is packed sideways? Can a user open the lid one-handed while standing? Does the folded form stay compact after repeated use?
That first question shapes everything else. It determines the environment, the testers, the metrics, and the timeline. Without it, teams collect noise instead of insight.
Match the method to the use case
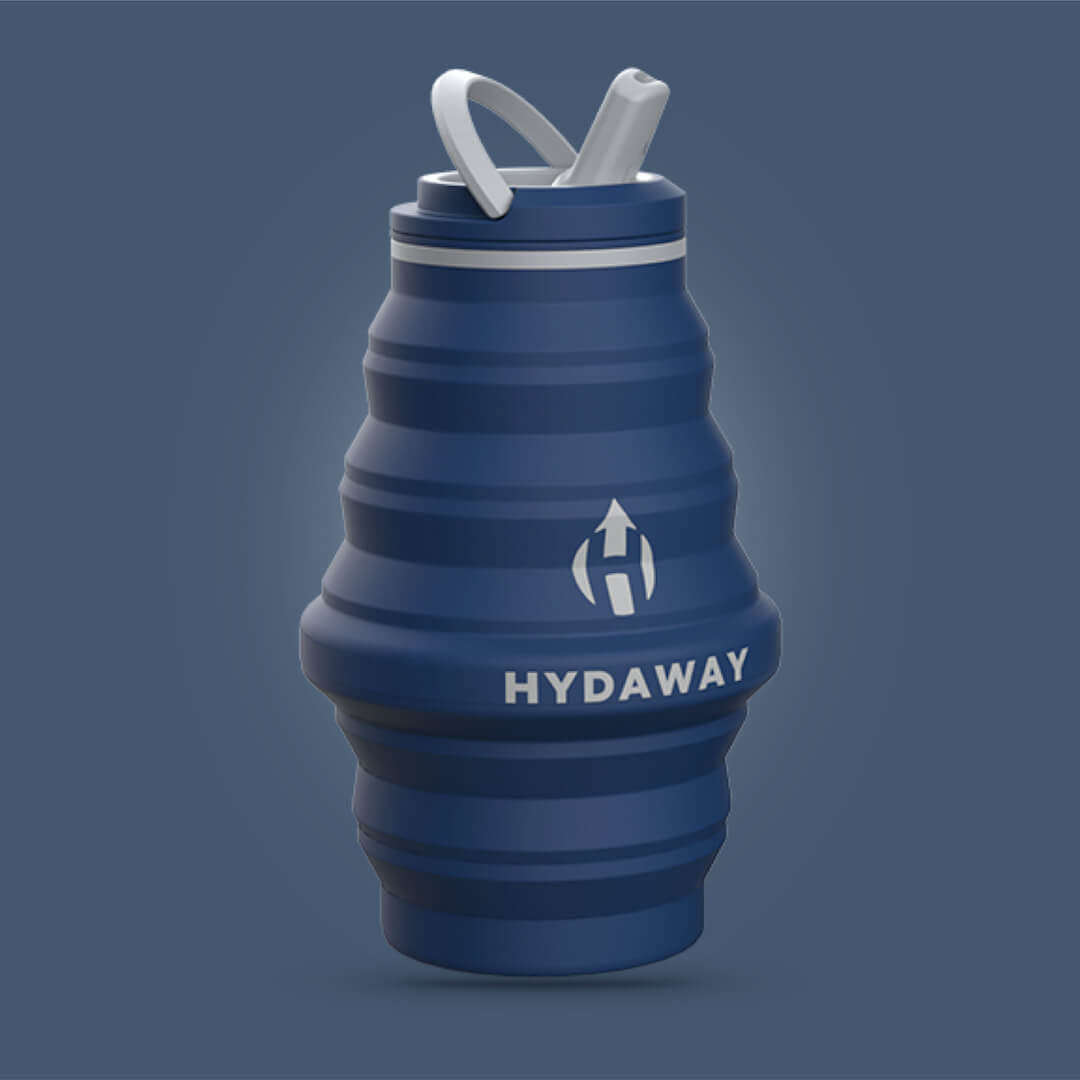
The strongest methods mirror reality. SurveyMonkey's product testing guidance makes this point clearly. Product testing must happen in contexts that reflect actual use so the data captures authentic behavior. In practice, that means a collapsible bottle intended for travel should be tested not only in a lab but also during a hiking break or in a campervan kitchen. Those are the settings where awkward grips, unstable surfaces, and rushed handling show up.
Establish success before the test starts
A team needs to decide in advance what counts as a pass. If success gets defined after the results come in, the process turns political fast.
Use criteria like these:
- Functional outcome: The lid remains sealed after transport in a packed bag.
- User behavior: Testers can collapse and reopen the item without confusion.
- Cleaning reality: The product still performs after repeated dishwasher or hand-wash cycles.
- Portability outcome: The packed shape still fits the intended pocket, pouch, or bag section.
A test without pre-set success criteria usually becomes an argument about opinions.
Analyze, then iterate
Testing isn't a ceremony. It's a loop. Once the data comes in, teams should isolate what failed, why it failed, and whether the issue belongs to design, materials, assembly, or instructions. Then they rerun the right test instead of retelling the same debate in meetings.
A sound product testing methodology keeps that loop tight. Define the question, build the scenario, measure the result, improve the product, repeat.
Choosing the Right Test for Your Product
No single test tells the whole story. Controlled tests are good at finding precise weaknesses. Field tests are better at exposing the problems nobody predicted. Strong teams use both.
Controlled testing versus field testing
Controlled testing gives you repeatability. You can isolate one variable, compare versions, and learn whether a design change improved performance. Field testing adds messiness, but that mess is useful because customers don't use products in controlled conditions.
Qualtrics' product testing article draws the line well. Central Location Tests (CLT) evaluate performance in a controlled setting, with usability targets of at least 85% on a 100-point scale. In-Home Use Tests (IHUT) capture real-world variability over 14–30 days. For adventure gear, IHUT data showed 92% of users reported adequate insulation and leak resistance when products faced -10°C to 40°C conditions and vibration.
That's the key trade-off. CLT gives cleaner comparison. IHUT gives truer context.
What each method is good at
| Methodology | Environment | Primary Goal | HYDAWAY Example |
|---|---|---|---|
| Quality Assurance testing | Staged, repeatable setup | Verify function, durability, and consistency before release | Running repeated seal checks on a collapsible bottle closure |
| Central Location Test | Controlled in-person setting | Measure usability and compare versions under the same conditions | Watching participants open, close, collapse, and pack a travel tumbler |
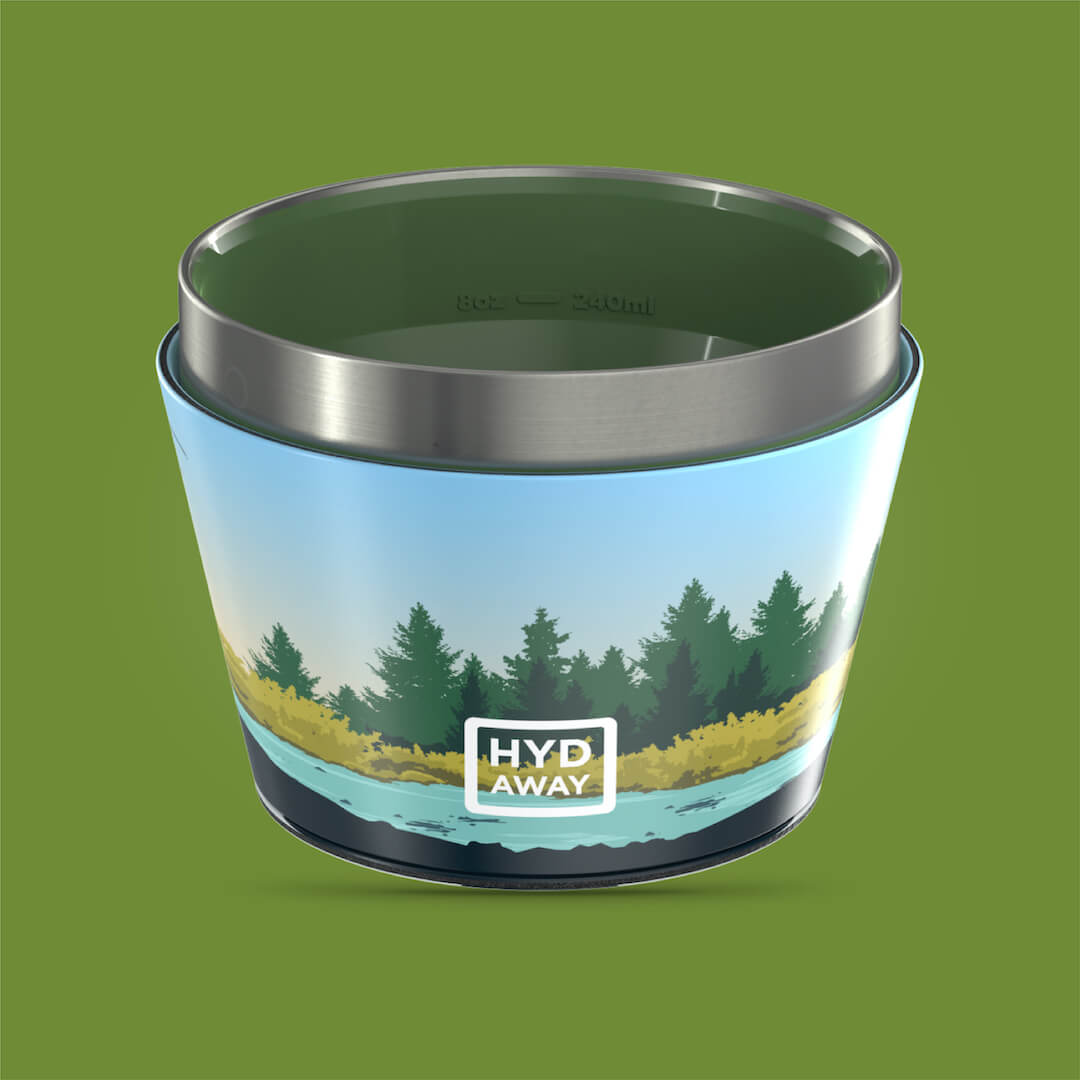
| In-Home Use Test | Everyday use over time | Capture behavior, maintenance, and failure in real use | Sending a collapsible bowl home with commuters and travelers |
| In-the-field testing | Mobility-focused real-world use | Validate context fidelity for travel and outdoor scenarios | Using drinkware during road trips, hikes, flights, and train commutes |
When to choose which
Use QA testing when you need precision. Material fatigue, closure torque, dishwasher durability, thermal retention, and leak testing all benefit from controlled conditions. If you change a hinge profile or wall thickness, you want a setup that can tell you whether that exact adjustment helped.
Use CLT when you need side-by-side human feedback. If you're deciding between two lid tabs or three drinking spout designs, controlled observation helps. Everyone gets the same prompt, the same setting, and the same tasks.
Use IHUT, or better yet a field-oriented adaptation of it, when context drives performance. Travel gear belongs here. A commuter doesn't handle a product the same way a person does at home. Someone in a campervan is working with less counter space, fewer cleanup options, and more movement.
The more portable the product is, the less useful a purely stationary test becomes.
A better frame for adventure products
For travel and outdoor gear, “in-home” is often the wrong label. The stronger approach is “in the intended environment.” That could mean:
- Transit testing: Backpack, tote, bike basket, or cup holder use during a normal day
- Trail testing: Refill, collapse, repack, and reopen cycles during breaks
- Vehicle testing: Vibration, shifting load, and temperature variation in a car or campervan
- Destination testing: Hotel rooms, airports, picnic tables, theme parks, and office desks
What works in a clean apartment may fail in a crowded boarding line. Product testing methodology gets sharper when the setting matches the promise on the package.
How to Measure Product Success and Failure
“Feels durable” isn't a metric. “Seems easy to use” isn't one either. If a team can't explain what pass and fail look like before the test begins, the results won't hold up when decisions get hard.

Three buckets that matter
Most physical product programs benefit from measuring three kinds of outcomes.
- Performance metrics: Does the product do the job it claims to do under load, movement, or time?
- Durability metrics: Does it keep doing that job after repeated stress, washing, packing, and handling?
- Usability metrics: Can people operate it correctly without needing a long explanation?
Those categories sound simple, but they force discipline. A portable bowl might perform well thermally and still fail because users can't secure the lid quickly. A tumbler might be intuitive and still fail after repeated cleaning.
Put numbers where numbers belong
Some product teams avoid statistics because they think they need a giant research department. They don't. They do need enough structure to separate signal from noise.
Highlight's product testing research guide notes that paired t-tests can be effective with as few as 15 ratings per product pair, while 200 participants per audience segment is a standard threshold for larger survey-based quantitative work. The same source notes that ANOVA is useful for assessing whether differences across three or more product variations are statistically significant.
That matters in real development work. If you're comparing two lid designs on a 1–5 rating scale, a paired comparison can be enough to spot a meaningful gap. If you're comparing three bowl profiles or several cap variants, ANOVA gives the team a cleaner way to judge whether one version is stronger or just happened to get a friendlier round of feedback.
Bench note: Measure the same thing the same way every time, or your statistics won't save you.
Teams building reliable test stations also pay attention to the physical setup. If you're documenting repeatable measurements for weight, sample prep, or lab consistency, a practical guide to lab balance tables is useful because shaky surfaces can distort otherwise careful work.
Turn observations into pass-fail decisions
A strong scorecard usually includes:
- Clear failure trigger: Leak observed, deformation visible, insulation loss outside target, or user unable to complete the task
- Measurement method: Visual inspection, timed task, repeated cycle count, or rating scale
- Decision threshold: Ship, revise, or reject
- Verification status: Whether claims are supported by internal data or broader third-party verification standards
At this point, product testing methodology becomes operational. It moves a team from “we like version B” to “version B met the threshold and version A did not.”
How to Design a Practical Product Test Plan
A useful test plan doesn't need to be elegant. It needs to be usable. Most of the best ones fit on a few pages and tell the team exactly what to test, how to test it, what to record, and what counts as failure.

Start with the scope and the failure mode
For physical products, the test plan has to define measurable metrics and failure criteria. mHUB's guidance on product testing during development gives a good example for collapsible hydration products. Material fatigue can be tested after 10,000+ flex cycles, with failure defined as a puncture or permanent deformation exceeding 2% of original dimensions.
That's the level of clarity a team needs. Not “check durability.” Define what stress will be applied and what visible or measurable outcome ends the test.
A simple five-part template
Use this structure when building a plan.
-
Objective and hypothesis
Write one sentence for the objective and one for the hypothesis. Example: The objective is to verify that a spill-resistant travel bowl remains sealed in a backpack during a normal commute. The hypothesis is that the current lid geometry will stay sealed under routine movement and bag compression. -
Target participants or test conditions
Decide whether the test needs users, machines, or both. If the issue is material fatigue, a lab setup may be enough. If the issue is ease of opening while standing on a train, recruit actual commuters. -
Procedure
Spell out the exact steps. Don't assume everyone knows what “normal use” means. Define fill level, orientation, duration, cleaning method, packing setup, and inspection points. -
Data collection and metrics
Record what matters. Leak observed or not. Deformation observed or not. User completed task or did not. Temperature retained within defined target or not. -
Logistics and timing
Note who runs the test, where it happens, how samples are labeled, and when the review meeting happens. If your team is managing multiple prototypes, this is also where a clean product specification workflow helps prevent sample mix-ups.
A short walkthrough helps make the process concrete.
A practical sample plan
Here's a lean example for a commuting product.
Test case example for a collapsible insulated bowl
- Objective: Verify that the lid stays sealed during backpack transport on a daily commute.
- Product state: Filled, closed, packed upright and sideways in separate runs.
- Context: Walking, stair use, public transit seating, bag set-downs, and desk arrival.
- Inspection points: Before departure, mid-commute, arrival, and after reopening.
- Failure conditions: Visible leakage, lid disengagement, or permanent material distortion.
Add one controlled stress test
Pair the commute test with a staged durability check. Repeated collapsing and expanding helps reveal whether the seal or vessel geometry changes over time. That's where cycle-based testing becomes valuable. If the product can't preserve shape after repeated use, field success won't last long.
Write the procedure so a different team member can run it and get the same result.
What teams often miss
The most common gap isn't effort. It's specificity. Teams forget to define bag type, fill volume, closure method, or cleaning routine. Those details sound minor until one tester hand-tightens a lid and another uses much more force. Then the product appears inconsistent when the method was inconsistent.
A practical product testing methodology removes that ambiguity. It gives every sample a fair test and every result a clear meaning.
Putting Your Methodology Into Practice
The payoff from a strong testing process isn't just fewer defects. It's customer trust. People carry portable gear into parts of life where convenience matters and failure feels personal. A leak in a backpack, a deformed lid after cleaning, or a tumbler that underperforms on a long day out becomes part of how they judge the brand.
The method becomes the reputation
That's why staged QA and real-world validation work best together. Peekage's overview of product testing methods notes that formal QA testing happens in staged environments to catch pre-launch issues. For HYDAWAY insulated travel tumblers, that includes verifying that double-wall insulation maintains beverage temperature for at least 4 hours and that the tumbler withstands 100+ dishwasher cycles without lid deformation, supporting third-party verified claims before products reach customers.
That kind of discipline is what turns “portable” into “dependable.” It also applies to adjacent products and branded gear programs. If a company is producing event merchandise for outdoor trips or travel communities, practical details like custom bucket hats no minimum matter for the same reason. Real use exposes quality fast.
Start smaller than you think
A team doesn't always need a huge lab to improve product testing methodology. They need a short list of real scenarios, clear pass-fail criteria, consistent documentation, and the discipline to rerun tests after changes. Start with the failure people would remember most. Then build outward.
A good test process protects the customer's trip, not just the product launch. That's the standard worth building toward.
If you want compact gear that's designed for travel, outdoor use, and everyday carry, explore HYDAWAY. Their collapsible bottles, drinkware, bowls, and travel-ready accessories are built for people who need packable gear that still performs when life gets crowded, mobile, and unpredictable.