


Supplies for Backpacking That Actually Earn Their Weight

You're halfway up a familiar trail when the pack starts feeling wrong. The shoulder straps bite, your hips aren't carrying their share, and every switchback turns into a quiet negotiation with the load. You stop to adjust the harness, move a bottle, and discover that the core problem isn't one obviously heavy item. It's the collection of “just in case” supplies for backpacking that nobody judged against the actual trip.
I've made that mistake with a redundant stove, a second insulating layer, and a comfort item that sounded sensible at home but never left the pack at camp. A good gear list can still produce a bad load. The useful question is simpler: does this supply earn its weight on this trip, for this person, in this season?
The Morning Your Pack Feels Too Heavy
On a cool morning along a ridgeline, the first mile can hide a poor packing decision. Your legs are fresh, the trail is familiar, and the pack seems manageable. Then the grade steepens, the breeze drops, and the load begins pulling backward. Your shoulders rise toward your ears. The hip belt loosens as you walk. By the next switchback, you're thinking less about the view and more about what you can leave behind at the next trail junction.
That discomfort usually comes from more than total weight. Poor distribution, rigid containers, duplicate functions, and supplies chosen for an imaginary trip can make a moderate load feel clumsy. A bottle that occupies the same space when empty as when full, a cooking pot used for only one meal, or a jacket packed because the forecast felt uncertain all take room from items that protect sleep, warmth, hydration, and safety.
Trail test: If you can't explain when an item will be used, what it replaces, and what happens if you leave it home, it hasn't earned a place in the pack yet.
Audit the load, don't worship the checklist
Start by emptying the pack onto a floor or picnic table. Group everything by function rather than by where it came from. A “kitchen” pile might contain a stove, fuel, pot, bowl, mug, spoon, coffee setup, and cleaning supplies. That pile often reveals several objects performing one job.
Then ask three questions:
- Use: Will I use it on this itinerary, or am I carrying it for a hypothetical problem?
- Replacement: Can one item perform the same job as another?
- Consequence: If it fails or disappears, does the trip become unsafe, uncomfortable, or merely less luxurious?
This audit works across current trip styles. A day hiker needs a different load from someone carrying food through a remote corridor, while a van-supported traveler may need a comfortable camp kitchen but almost no trail cookware. The pack should reflect the route, not a universal list copied from a different adventure.
The load tells you what to fix
When straps dig in, don't immediately buy a lighter backpack. First inspect the dense items, water containers, food packaging, and comfort gear. A pack can feel unstable because a heavy object sits too far from your back, or because the load is full of awkward empty space that forces everything else outward.
The rest of the packing process is an audit. Set a real weight budget, assign each item a job, and choose packable formats where they reduce volume without compromising reliability. The best supplies for backpacking aren't the ones that look impressive laid out on a table. They're the ones you still appreciate on the fourth climb of the day.
Setting a Real Weight Budget Before You Pack
At the trailhead, a pack can feel manageable. After the first sustained climb, the same load may pull at your shoulders, shift your balance, and make every extra item obvious. Set the limit before choosing supplies, then judge each item against the route rather than a universal checklist.
Weight categories help only when they change a packing decision. One 2026 guide describes ultralight as under 10 pounds of base weight, lightweight as 10 to 15 pounds, and traditional as 20 to 30 pounds. Those definitions appear in the 2026 ultralight gear guide, but they are reference points, not targets to chase.
A dry, familiar trail may justify a lighter setup. Cold rain, uncertain water, a newer backpacker, or a parent carrying shared supplies can justify more redundancy and comfort. Keep the loaded pack under 20% of body weight as a practical ceiling, then adjust for experience, terrain, and conditions.
Three categories, one practical table
| Weight Class | Base Weight Target | Max Core Zone Share |
|---|---|---|
| Ultralight | Under 10 lb | 60 to 70% |
| Lightweight | 10 to 15 lb | 60 to 70% |
| Traditional | 20 to 30 lb | 60 to 70% |
The core-zone figure concerns load placement, not a recommendation to fill most of the pack with shelter and sleep gear. Place about 60 to 70% of total pack weight in the upper-middle zone close to the spine, with dense items centered between the shoulder blades. The backpack weight distribution advice explains this arrangement.
For a 30-pound total pack, roughly 18 to 21 pounds belongs in that core zone. Put food, water, the stove, and other dense supplies close to your back, then use soft, lighter pieces to fill the outer spaces. If shelter, sleep gear, and the pack itself consume too much room there, food and water are pushed outward and the load pulls against your center of gravity.
Give every item a weight cost
Weigh each item before deciding that it belongs. Record its job in plain language. “Comfort” counts, but it competes with warmth, food, hydration, shelter, and safety.
Use this audit:
- Write the trip constraints. Record nights out, water reliability, weather, food-storage rules, group size, and whether a vehicle supports the route.
- Set the loaded limit. Base it on body weight, experience, terrain, and conditions.
- Separate base weight from consumables. Food, fuel, and water change during the trip, so compare like with like.
- Mark duplicates. A mug, bowl, pot, and tumbler may overlap.
- Protect failure-sensitive supplies. Cutting weight from shelter, insulation, water treatment, or repair supplies can create a bigger problem than it solves.
This approach scales by trip type. A day hike may need only compact food, water, weather protection, and basic safety supplies. A weekend or multi-day route adds sleep and cooking systems. Van-supported travel can keep camp comforts at the vehicle while family travel may justify shared backups and simpler, more durable gear.
The goal is deliberate comfort, not an empty pack.
The Five Non-Negotiable Supply Categories
Every pack must solve the same basic problems, even when the equipment changes. You need protection from weather, a way to recover overnight, safe water, enough food, and clothing that handles changing conditions. These are the five essential categories in any sound system of supplies for backpacking.

Shelter and sleep
Shelter is where you shouldn't chase the cheapest possible ounce. A dependable tent, tarp, or hammock system protects you from rain, wind, insects, and ground conditions. The lightest credible option is the one you can pitch correctly in poor weather and repair if a tie-out or pole connection fails. The cheapest option often saves money by reducing fabric strength, seam protection, or usable space, which can cost you sleep when the forecast turns.
Your sleep system includes a pad and a sleeping bag or quilt. For trips beyond a single night, recovery matters more than a clever packing list. A compressible insulation system earns its space because it performs at night and shrinks during the day.
Water and food
Water supplies resist compression because water itself is heavy. Carrying capacity, treatment, and source reliability matter more than owning a fashionable bottle. A filter can be efficient near clear sources, while chemical treatment may work as a backup or for situations where moving parts are undesirable.
Cooking has a similar trade-off. A simple stove, fuel, pot, and utensil support hot meals, but a full kitchen makes little sense when your itinerary provides prepared food or vehicle support. For a larger outdoor cooking setup or camp meal equipment, Smokey Rebel's BBQ gear offers a useful point of comparison, though most remote backpacking systems need a much smaller footprint.
Clothing and format
Clothing should create a working layer system, not a separate outfit for every mood. Start with a hiking layer, an insulating layer, rain protection, and dry sleep pieces when conditions justify them. The credible lightweight choice is usually fewer versatile layers, not fragile clothing that fails when wet or abused.
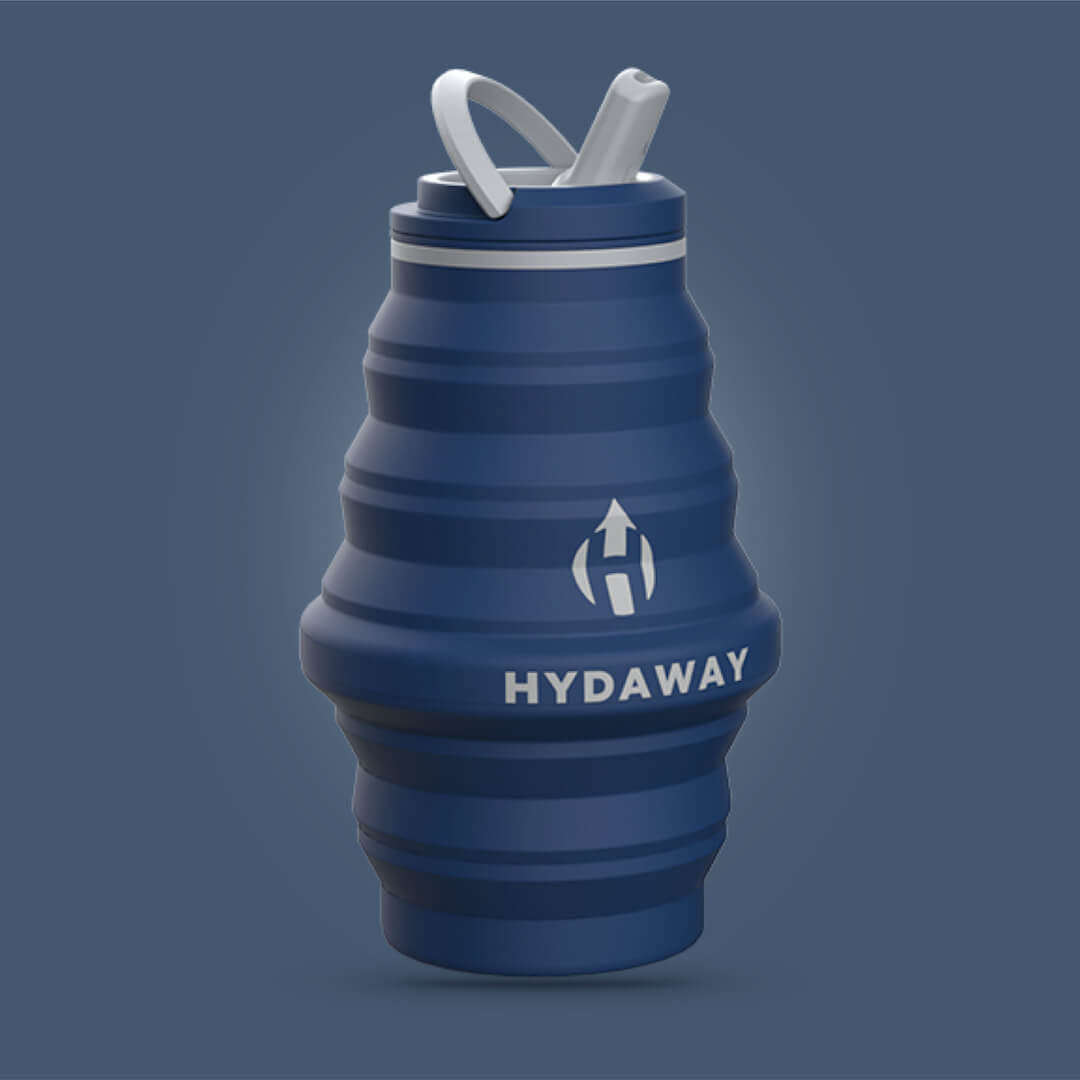
The biggest gains within these categories often come from format. Collapsible bottles, compressible insulation, foldable bowls, nesting cookware, and compact repair kits reduce empty volume as well as weight. HYDAWAY's ultralight backpacking gear list is relevant when you're comparing packable hydration and dinnerware with rigid alternatives.
Matching Supplies to Your Trip Type
A generic checklist fails because trip logistics change the job of every item. A ten-mile day hike doesn't need the same kitchen as a remote multi-day route, and a van-supported outing can carry supplies that would be unreasonable in a fully loaded pack.
| Trip Profile | Add | Cut | Weight Target |
|---|---|---|---|
| Day hike | Collapsible flask, snacks, rain shell, mini first-aid kit | Stove, shelter, sleep system, full kitchen | Daypack load |
| Weekend | Shelter, sleep system, water treatment, light stove | Duplicate clothing and bulky comforts | Lightweight or traditional, based on conditions |
| Multi-day | Full kitchen, extra fuel, food storage strategy, repair kit | Single-use containers and nonessential rigid gear | A planned loaded limit |
| Van-supported | Refrigeration, water jugs, real dinnerware, comfort items | Trail cookware and redundant carried water | Vehicle-supported comfort load |
Day hikes and weekends
For a long day hike, start with water capacity, food, weather protection, navigation, and first aid. A collapsible bottle can ride flat in a small pack before the trailhead, then expand when you fill it. Add a mini repair item only when your route or equipment warrants it, and skip the stove unless you have a specific meal plan that needs heat.
A weekend trip crosses the line into overnight systems. Add shelter, pad, bag or quilt, water treatment, a compact stove, fuel, and a meal container. Cut duplicate layers by choosing one insulating piece that works at rest and in camp, and package food so it doesn't occupy a series of rigid boxes.
Multi-day and vehicle-supported routes
Multi-day trips demand more attention to failure and resupply. Carry a repair kit, enough fuel for the meals you've planned, and a food-storage strategy that follows local rules. Bear-canister options commonly range from 7.2 liters to 14.75 liters, with capacity often described as roughly 3 to 7 days or 9 to 12 days of food depending on the model and requirements, as outlined in current bear-canister comparisons.
Van-supported travel changes the equation. Keep a water jug, cooler or refrigerator, larger cookware, reusable dinnerware, and comfort items at the vehicle. On the walking portion, carry only what the trail requires. Families should make the same distinction for children and pets, and a practical dog travel bag guide can help organize animal supplies before you decide what belongs in the hiking pack.
The important shift is not just adding or removing gear. It's changing the system so every item matches the distance it must travel on your back.
Packable Hydration and Dinnerware That Earn Their Spot
Collapsible gear earns its place only when it solves a real volume problem. A rigid bottle is easy to grab and usually stable when set down, but it keeps occupying nearly the same space after you drink from it. A collapsible bottle can flatten or roll when empty, leaving room for food, clothing, or a rain layer during the return leg.
Judge each piece against three variables:
- Packed size: Does it disappear when empty, or remain a rigid object in the pack?
- Empty weight: Are you carrying a useful container or mostly its structure?
- Field durability: Can it handle filling, squeezing, washing, and repeated packing?
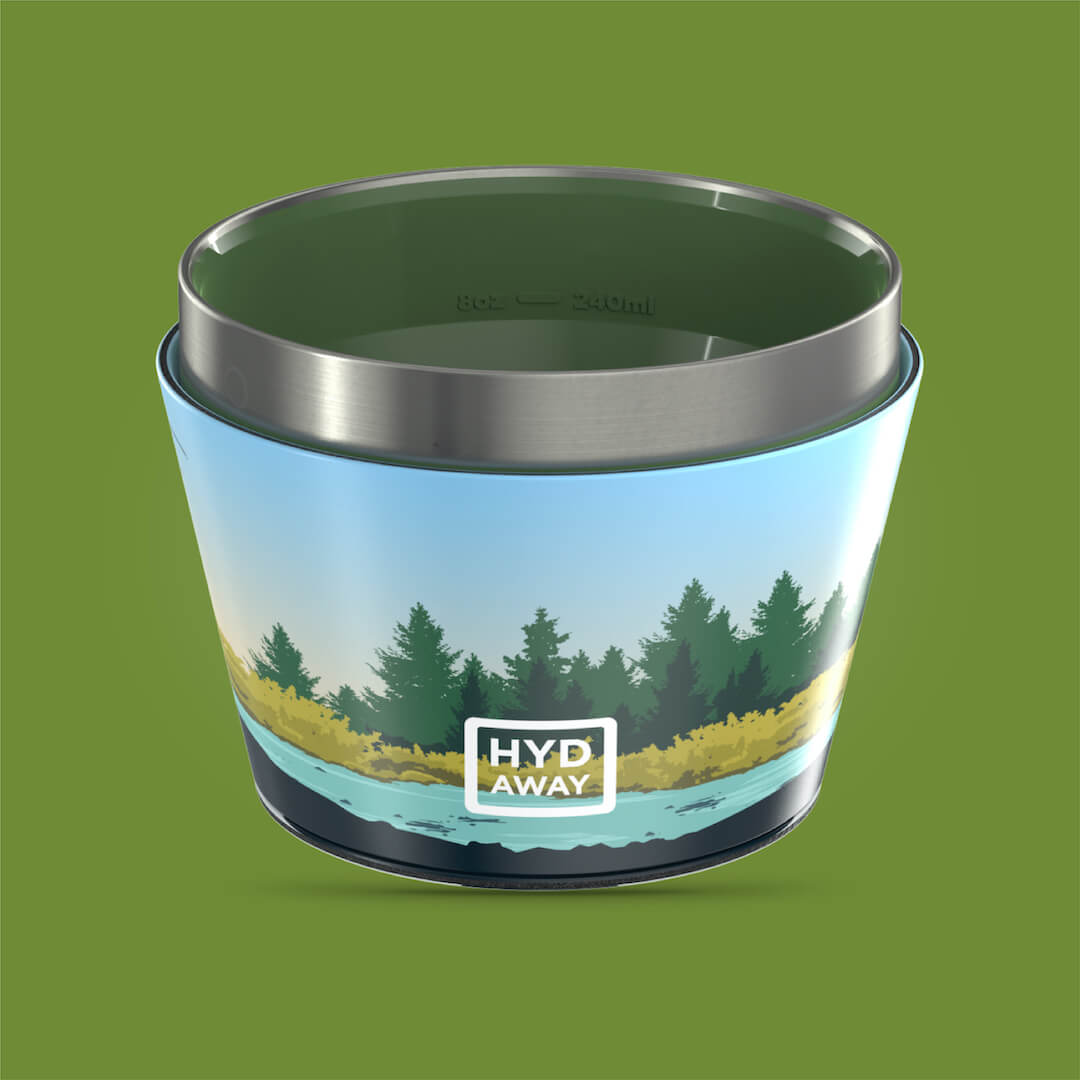
A tumbler makes sense when coffee or a hot drink is part of the daily routine. A bowl earns its spot when it replaces a pot, meal pouch, or separate dish. A full kit works for families and vehicle-supported trips, but it can be unnecessary for a solo hiker who eats directly from a pot.
What tends to fail
Cheap collapsible drinkware often looks perfect on a store shelf and disappoints after repeated folding. Hinges, thin seams, poorly designed rims, and difficult-to-clean creases create failure points. Silicone also varies widely in stiffness and construction, so “collapsible” doesn't tell you whether the item will remain stable with hot food.
A good trail container should open fully, stand securely, wash without trapping residue, and pack down without demanding a separate storage solution. HYDAWAY's collapsible bottles, tumblers, bowls, pints, travel cases, and kits are designed around that use pattern. The collapsible water bottle guide for hiking is useful when comparing a flat-packing bottle with a standard rigid model.
For a minimalist meal system, one bottle, one bowl, and one utensil can cover hydration, hot drinks, and food without multiplying containers. For van life or family travel, an insulated bowl with a lid and reusable tumblers make more sense because the vehicle absorbs the weight penalty. The right choice isn't “collapsible at all costs.” It's collapsible where empty volume keeps damaging the rest of your packing system.
Water Planning With Numbers You Can Trust
Water planning becomes manageable when you separate intake, capacity, and carried weight. A 2026 checklist recommends at least 2 liters of water capacity, while another guide recommends 2 to 3 liters for multi-day trips and 3 to 5 liters when sources are sparse, according to the backpacking gear checklist.
One separate guide notes that 1 liter of carried water adds about 2 pounds to the pack, so two extra liters add about 4 pounds. That's a strong reason to study the water map and treat dependable sources rather than carrying a large reserve all day. Don't reduce capacity below what the route and conditions demand, but don't carry uncertainty without investigating it first.

Use a bottle or soft reservoir for clean water and keep treatment matched to the source. A squeeze filter is convenient for clear water and small groups. Chemical treatment packs small and has no pump to break, but it requires planning and may affect taste. For silty water, pre-filtering and patience matter more than buying another container.
A collapsible bottle can serve as more than a trail bottle. Fill it for a dry stretch, flatten it after a source, and use it as a reserve carrier at camp. HYDAWAY's camping water-storage guidance fits this approach because the container can move between trail, campsite, van, and town without forcing you to carry its full empty footprint.
The Comfort-Creature Audit
Comfort gear deserves a review, not ridicule. Independent 2026 checklist guidance warns that small comfort items can add 3 to 5 pounds across a trip, as described in the backpacking comfort audit. That weight can come from a chair, extra shoes, a book, a pillow upgrade, a speaker, and a full cosmetics kit, none of which looks unreasonable by itself.

Run each optional item through seven questions:
- Weight: Is the item light enough for its role?
- Multi-use: Can it serve two purposes?
- Failure consequence: Does failure ruin the trip?
- Replacement on trail: Could you replace it during travel?
- Dual purpose: Does it eliminate another item?
- Borrow potential: Can the group share it?
- Emotional load: Does it protect morale or sleep?
A chair may be worth carrying on a short approach to a base camp, but it's a poor choice for a long traverse. Camp shoes often stay home when your hiking shoes can loosen into slippers. A book can become an e-reader or a small notebook, while a speaker usually becomes a phone and headphones, or nothing at all. Cosmetics should shrink to the items that protect skin, health, or confidence.
A HYDAWAY collapsible bowl and tumbler illustrate a better kind of comfort. They support real meals and hot drinks while replacing rigid pieces, so the question isn't whether comfort belongs. It's whether the comfort item also reduces another supply.
If I wouldn't hike back three miles for an item I forgot, it probably stays home.
Ultralight packing isn't deprivation. It's discipline applied to space, function, and the experience you want.
Care, Repair, and a Pre-Trip Pack Audit
The most sustainable item is often the one you already own and maintain. A small repair kit keeps minor damage from becoming a forced replacement or an interrupted route.

Pack repair supplies according to the equipment you carry:
- Tenacious Tape: Patch tent tears, rainwear, and gear rips.
- Mini sewing kit: Stitch fabric, straps, and torn stuff sacks.
- Spare buckles: Replace a broken clip without improvising a dangerous closure.
- Sleeping pad patches: Stop a puncture before a cold night turns into a miserable one.
- Water filter care: Clean and store the filter according to its design so flow and reliability don't deteriorate.
Soft goods and collapsible bottles need routine hygiene. Wash bottles and bowls with soap after trips, let them air-dry fully, and store them open or loosely arranged rather than trapping moisture inside. UV exposure can help during drying, but it shouldn't replace proper washing. HYDAWAY's reusable bottles and bowls fit repeated trail, van, and everyday use when you clean them between outings.
Before leaving, lay out every item and weigh the loaded pack against your body-weight limit. Remove anything you haven't used on the last three trips, then weigh the pack again. Check closures, seams, straps, filters, tent hardware, fuel, food packaging, and water capacity before the trailhead.
Disciplined packing also reduces replacement waste. A lighter, better-organized load uses fewer disposable containers, avoids unnecessary resupply, and helps reliable gear remain in service for years rather than being replaced after a season.
HYDAWAY offers collapsible bottles, insulated tumblers, bowls, pints, travel cases, and curated kits that reduce packed volume while supporting reusable hydration and camp meals. Audit your next load, choose the pieces that match your route, and visit HYDAWAY to build a compact system for the trail, van, or everyday travel.