Your Guide to the Disneyland Outside Food Policy

Yes, you absolutely can bring your own food and drinks into both Disneyland Park and Disney California Adventure. This is honestly one of the best perks for families visiting the parks—it's a total game-changer for saving money, dealing with picky eaters, and skipping those long food lines when everyone suddenly gets "hangry."
Understanding the Disneyland Food Policy
Knowing the ins and outs of what you can pack can completely transform your day at the park. It means you can plan ahead, stick to a budget, and always have snacks on hand that your family will actually eat. That translates to less time stressing about pricey park meals and way more time soaking up the magic.
To make it super simple, this little decision tree breaks down the core of the policy.
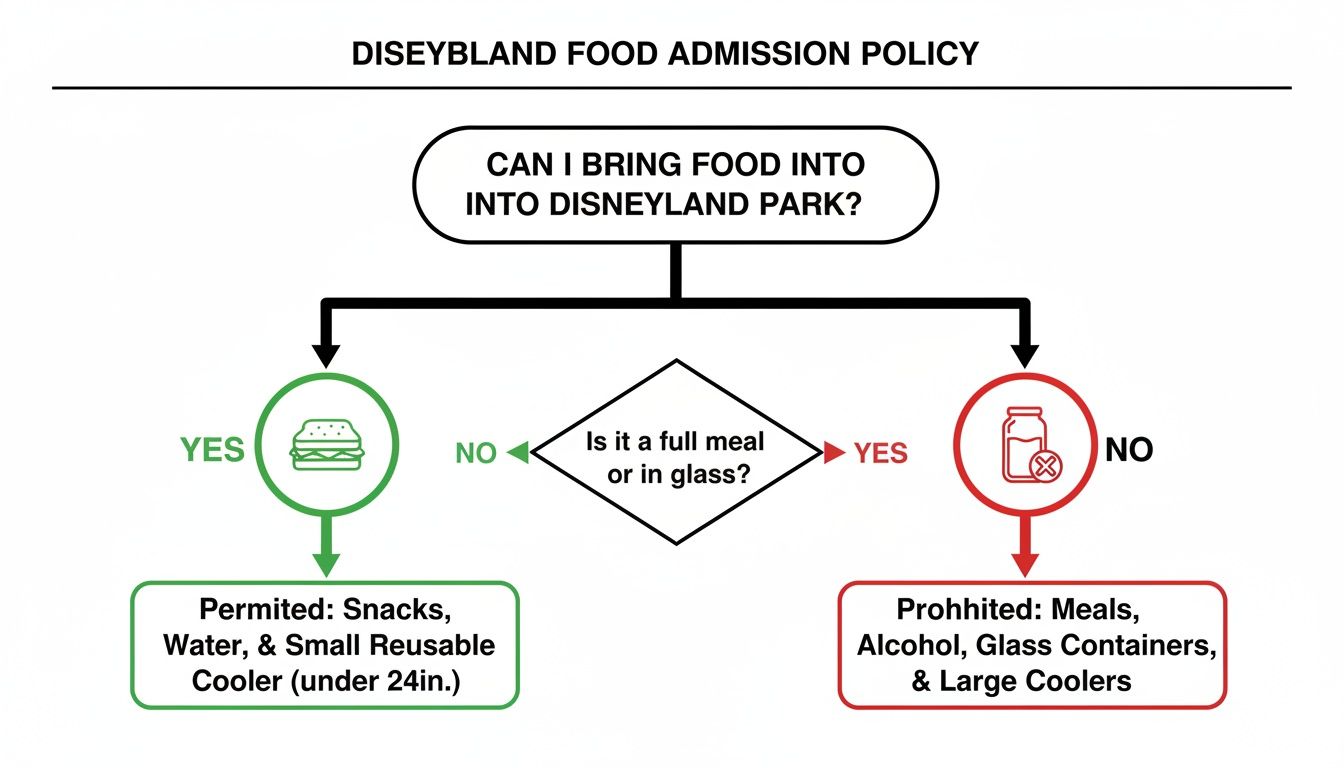
As you can see, the policy is pretty welcoming. As long as you steer clear of a few specific things like glass and alcohol, you're golden.
What's Allowed vs. What's Not
For a quick rundown, here’s a simple table that splits the allowed items from the prohibited ones. It's a great reference to check while you're packing your park bag.
Disneyland Food Policy At a Glance
| Allowed Items | Prohibited Items |
|---|---|
| Outside food & snacks | Alcoholic beverages |
| Non-alcoholic beverages | Glass containers |
| Reusable water bottles | Loose or dry ice |
| Small, soft-sided coolers | Hard-sided coolers (larger than 6-pack size) |
| Food for medical needs | Food that requires heating or refrigeration |
| Baby food & formula | Pungent or strong-smelling foods |
Think of this as your cheat sheet. The main goal is to bring items that are easy to carry and eat without any fuss.
Key Rules to Remember
Disneyland’s official rules are all about guest safety and keeping things running smoothly. The big takeaways are no glass containers, no alcohol, and nothing that needs to be heated or refrigerated. This guest-friendly approach has been a lifesaver for families on a budget, and it really sets Disney apart from some stricter theme parks. You can even explore a comparison of theme park food policies to see just how accommodating they are.
The core idea is simple: pack ready-to-eat meals and snacks that don't need special prep. Think of it like packing for a picnic, not a full-blown tailgate party.
This is where having the right gear makes all the difference. Imagine packing a fresh pasta salad or some chilled fruit in a HYDAWAY collapsible, insulated bowl. It keeps your lunch cool for hours without a bulky cooler. The best part? After you eat, it collapses down flat, freeing up precious space in your backpack for that spirit jersey you've been eyeing. Pair it with a collapsible water bottle, and you've got the perfect setup for a stress-free, budget-friendly day.
What to Pack and What to Leave at Home
Knowing you can bring food into Disneyland is a game-changer. But knowing what to pack—and what to leave behind—is the secret to a smooth, stress-free park day. Think of your bag as your family’s mobile snack station, perfectly stocked to keep everyone happy and energized between rides.
This strategy isn’t just about convenience; it's a massive budget hack. The cost of park food adds up fast. With recent price increases on everything from a bottle of soda to a churro, packing your own lunch looks better than ever. The LA Times has a great breakdown of how Disneyland has been raising its food prices if you want to see the numbers for yourself.
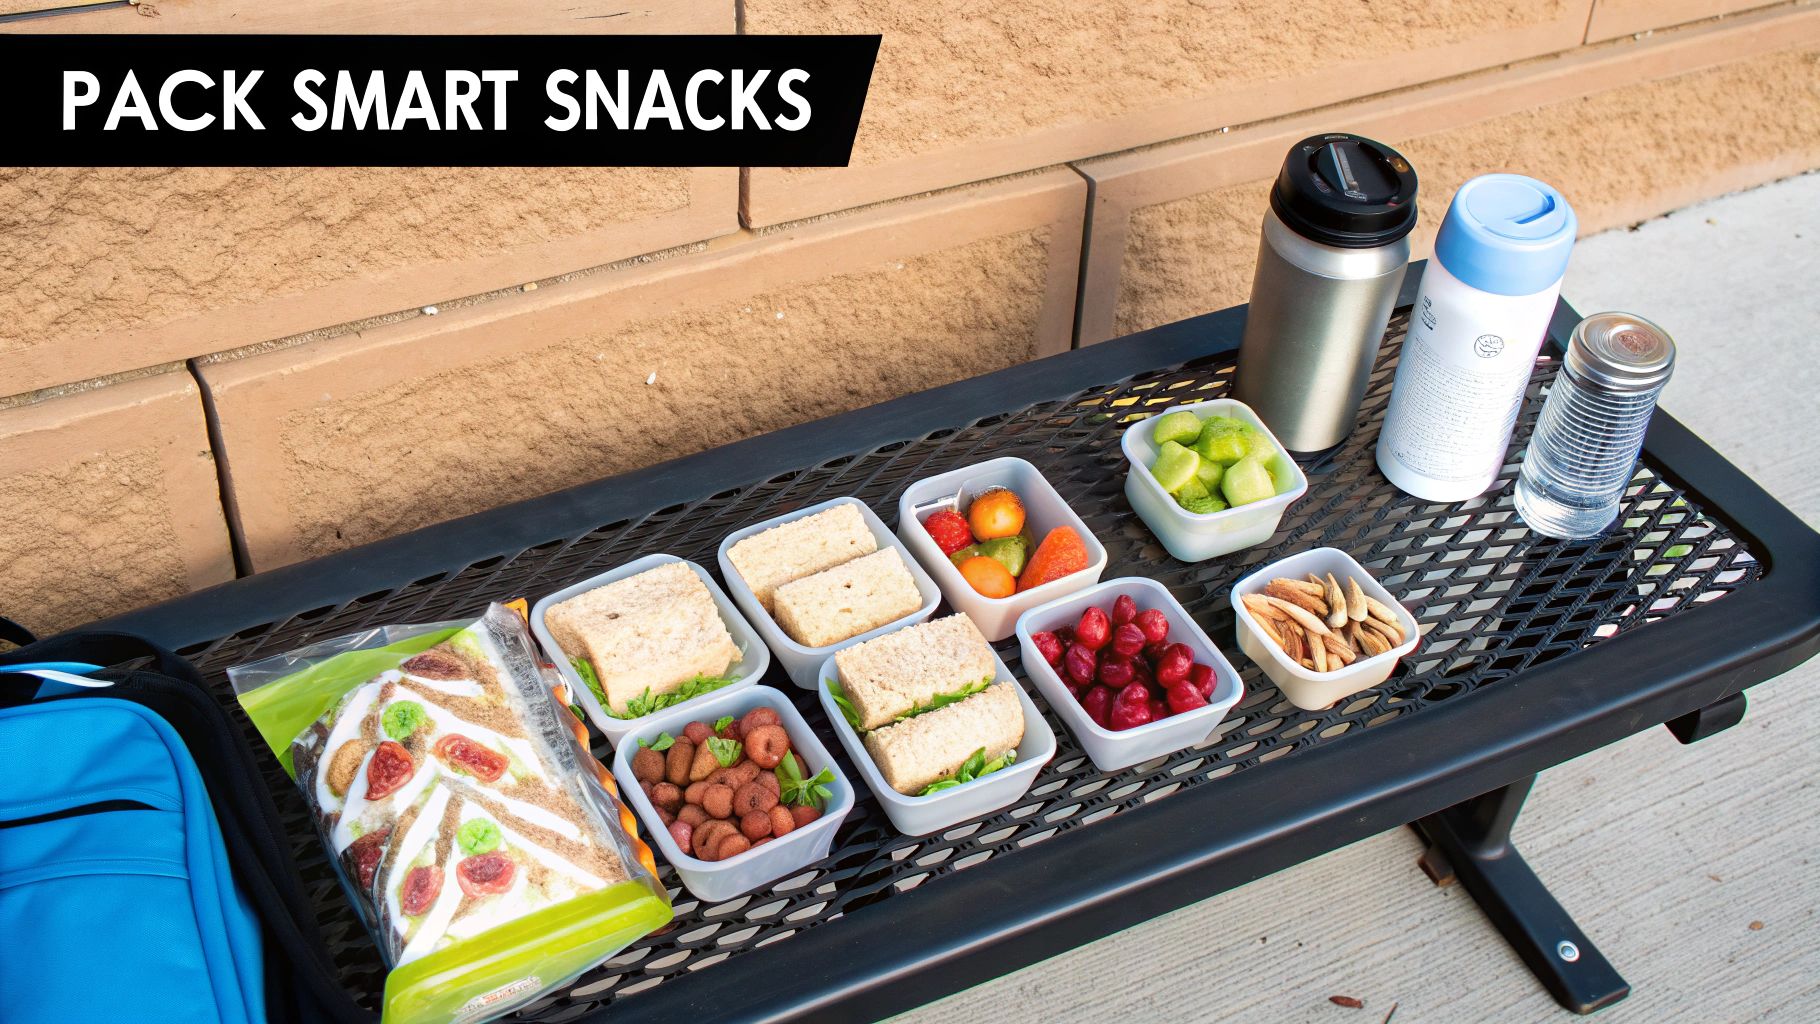
Smart and Approved Snack Ideas
The goal here is simple: pack things that are ready to eat with zero fuss. These are the grab-and-go heroes that will save you when hunger strikes in the line for Space Mountain or during a much-needed break in the shade.
- Pre-made sandwiches or wraps: The classics never fail. Try PB&J for kids or a turkey and cheese wrap for adults. Easy, filling, and satisfying.
- Portioned bags of snacks: Think trail mix, pretzels, Goldfish crackers, or your favorite granola bars.
- Fresh fruit: Grapes, apple slices, bananas, and clementines are perfect for a quick, healthy boost.
- Cheese sticks and crackers: A perfect protein-packed combo to keep energy levels from crashing.
- Veggie sticks with dip: Pack carrots, celery, and cucumber sticks with a small, sealed container of hummus or ranch.
- Pasta salad or quinoa bowls: A fantastic option for a more substantial and refreshing lunch.
This is where having the right gear makes all the difference. Imagine packing that pasta salad in an insulated HYDAWAY bowl. It keeps everything chilled for hours, and its spill-proof lid means you won't have any messy surprises in your backpack. It lets you bring a real, satisfying meal from home that isn't just a squished sandwich.
What to Leave Behind
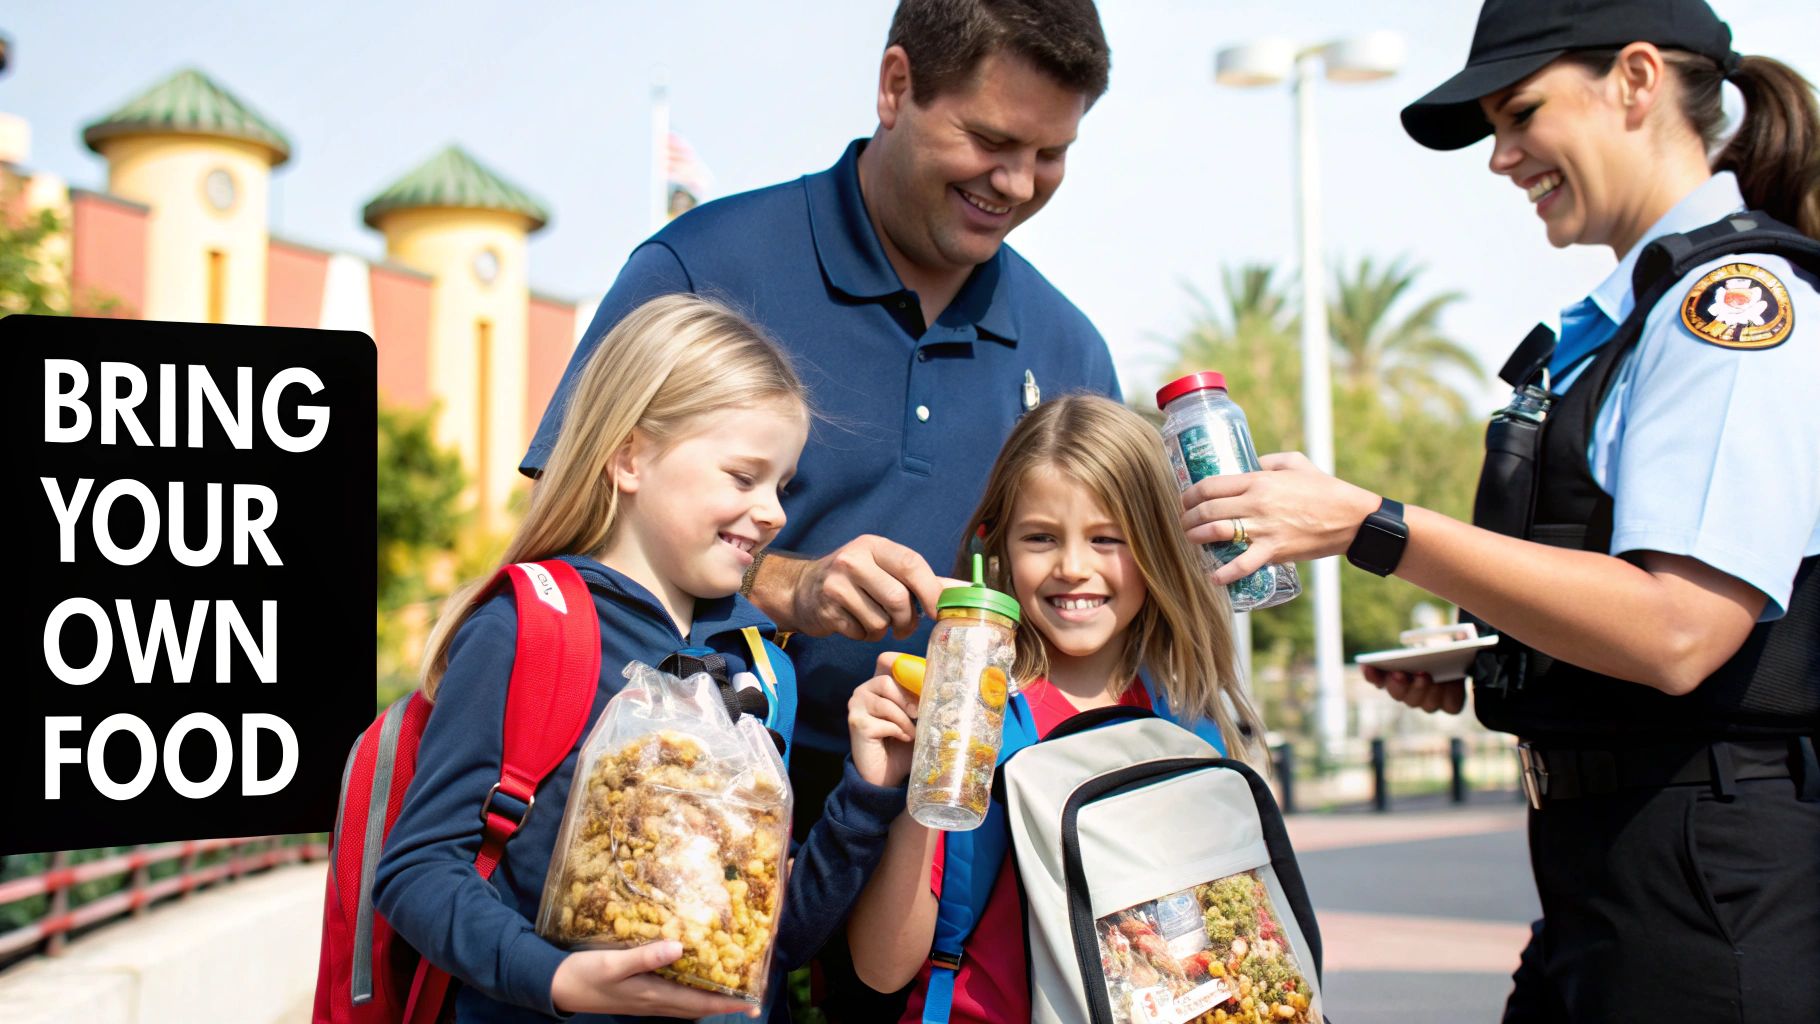
Knowing what not to bring is just as crucial as knowing what to pack. Disneyland’s prohibited items list is all about keeping guests safe and the park clean. If you try to bring these in, security will confiscate them at the checkpoint.
Key Takeaway: The big three no-nos are glass, alcohol, and large, hard-sided coolers. These rules are non-negotiable and help ensure a safe, enjoyable environment for everyone.
Here’s a simple list of what to leave at home:
- Glass Containers: This means no glass baby food jars, soda bottles, or food storage containers. Always opt for plastic or silicone instead.
- Alcoholic Beverages: You can't bring any outside alcohol into either park. Period.
- Large Coolers: Anything bigger than a standard 6-pack cooler (the official size limit is 24" long x 15" wide x 18" high) is a no-go. Soft-sided coolers are your best friend here.
- Loose Ice: Pack reusable ice packs to keep things cold. Loose ice and dry ice are both prohibited.
- Pungent Foods: To be considerate of other guests, try to avoid packing foods with super strong odors like tuna salad or hard-boiled eggs.
The absolute smartest move for hydration is bringing a reusable water bottle. A 25oz collapsible HYDAWAY bottle is perfect for this. It’s flat and empty going through security, so it’s no hassle at all. Once you're inside, you can fill it up at any park fountain, saving money and the planet one plastic bottle at a time. And when you're done? It collapses right back down, making plenty of room for that new pair of Mickey ears.
Packing for Babies and Special Dietary Needs
For many families, bringing your own food to Disneyland isn't just about convenience—it's an absolute game-changer. When you're juggling the needs of little ones or carefully managing dietary restrictions, having the right snacks on hand brings some serious peace of mind. Luckily, Disney gets it and is incredibly accommodating.
Essentials like baby food, formula, and snacks for your toddler are welcome exceptions to the main rules. You can pack what you need to keep your smallest park-goers happy and fed without a second thought. The same goes for medically necessary food and drinks for anyone with allergies, intolerances, or conditions like diabetes.
Tips for Packing Special Foods
Packing smart is the key to keeping everything safe, fresh, and accessible. You want containers that won't create a mess in your bag or let food get warm.
For instance, a HYDAWAY insulated bowl is perfect for keeping baby food purées or a special allergy-friendly meal cool for hours. Its secure, leak-proof lid means you can toss it in your backpack and forget about it until mealtime. This takes the stress out of finding safe food options in the park, letting you enjoy the day knowing you have exactly what your child needs.
Just give the Cast Members at the security checkpoint a heads-up about any medically required foods or liquids. They’re trained to handle these situations with care and will help you through the screening process smoothly.
Navigating the Park with Confidence
A little planning goes a long way. As you're getting food ready for your baby's big day at the park, it can be helpful to check out an ultimate baby vacation packing list for other tips that go beyond just snacks.
Here are a few practical pointers for a seamless park day:
- Formula and Milk: Bring pre-measured, single-serving packets of powdered formula along with an empty, reusable bottle. You can easily get water from any quick-service spot or water fountain to mix it fresh when you need it.
- Baby Food: Glass jars are a no-go, so transfer baby food into small, BPA-free plastic or silicone containers instead. They're lighter and park-approved.
- Medical Liquids: If you have liquid medications or specific drinks like electrolyte solutions, keep them packed separately so you can easily show them to the security team.
By packing thoughtfully, you can take care of everyone's dietary needs without any stress, letting you and your family focus on what really matters—having fun.
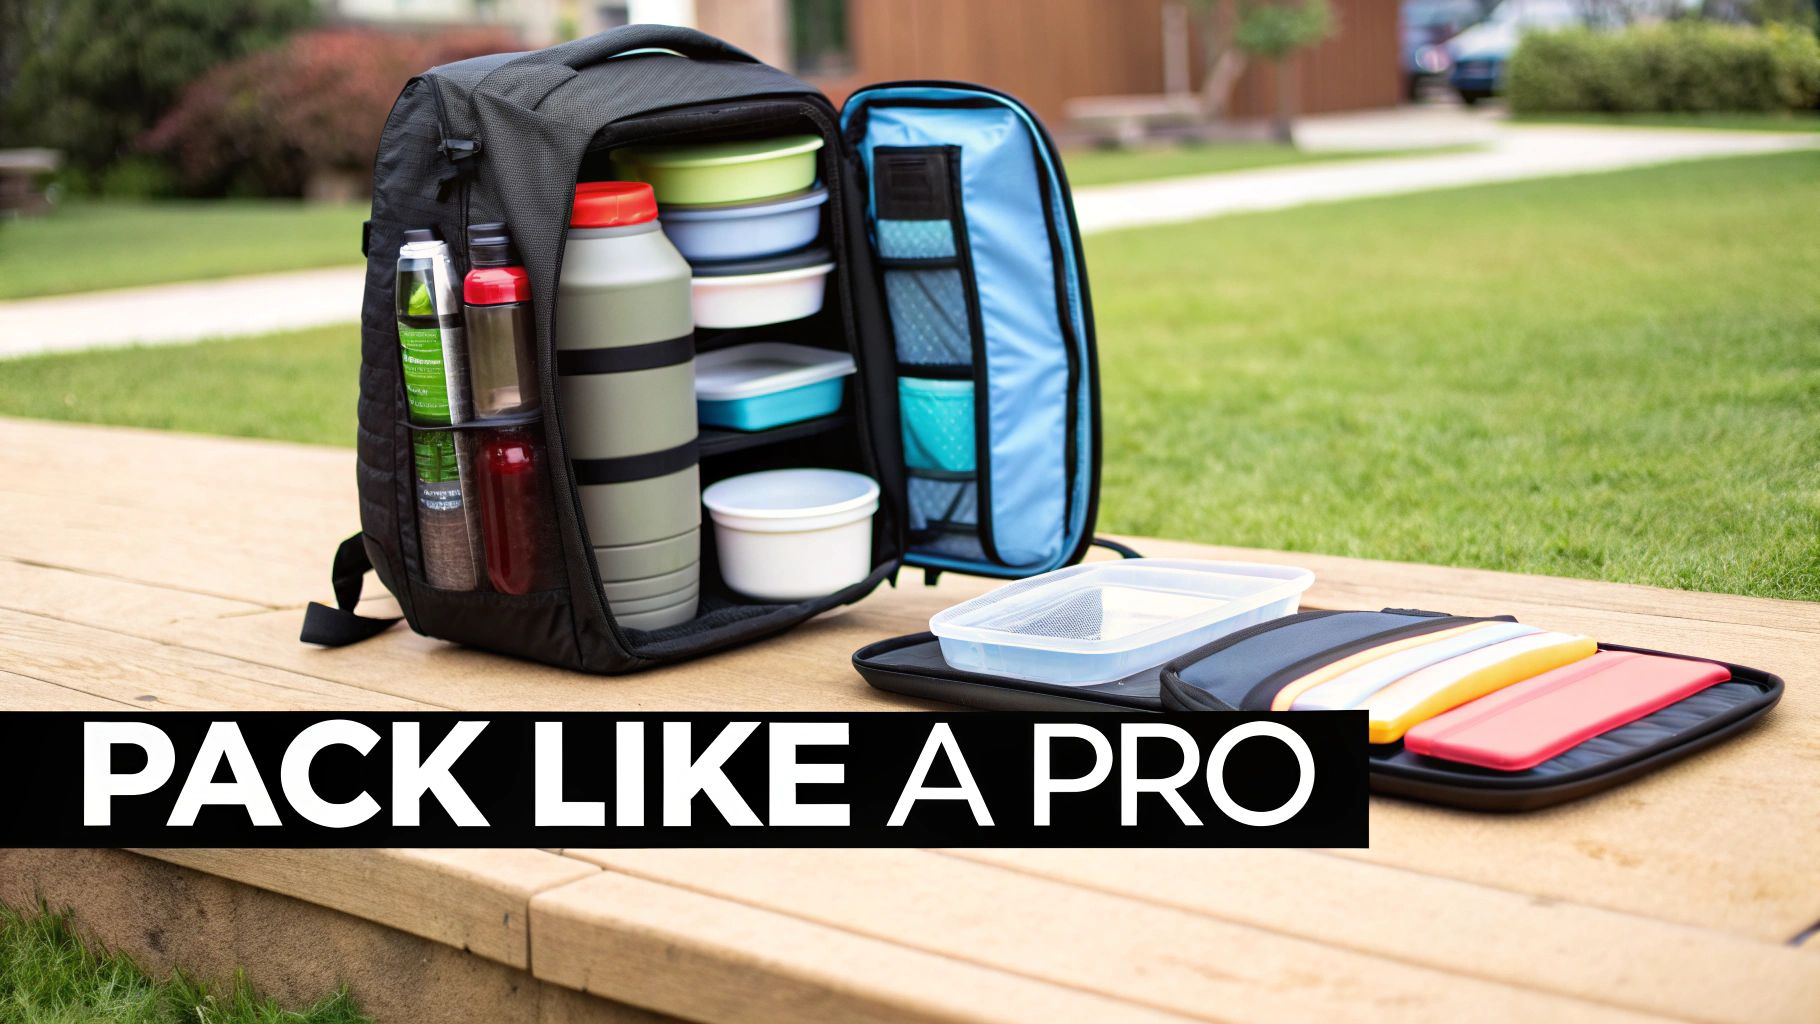
How to Pack Your Disney Day Bag Like a Pro
Knowing you can bring your own food into the park is a game-changer. But knowing how to pack it is the secret to a genuinely stress-free, magical day. A smartly packed bag keeps the whole family fueled up and happy without feeling like you're hauling a ton of bricks. This is your masterclass in creating the perfect, space-saving Disney day bag that actually works for you.
The real magic behind a great park bag comes down to smart, reusable gear. This is your chance to create a seamless system that turns lunchtime into a breeze instead of a hassle. Picture this: each person in your family has their own collapsible HYDAWAY water bottle, clipped right onto their backpack strap or belt loop. No more lugging around bulky, half-empty plastic bottles that hog all the space.
Building Your Perfect Pack
Okay, let's talk food storage. The goal is to pack a delicious, refreshing lunch without your backpack turning into a heavy, jumbled mess. You have to think vertically and compactly. Grab some insulated containers that can stack neatly inside your soft-sided cooler—this is key for keeping sandwiches from getting squished and fruit from turning into mush.
For example, you could pack sandwiches in one HYDAWAY insulated bowl and a fresh fruit salad in another. The leak-proof lids mean no surprise spills, and the insulation keeps everything perfectly chilled until you’re ready to find a spot to eat. It's a simple approach that makes the most of Disneyland's outside food policy and keeps you ready for any "I'm hungry!" moments.
Here’s the best part: after you’ve polished off your meal, the HYDAWAY bowls and bottles collapse down to a fraction of their size. This instantly frees up a ton of room in your backpack for that must-have souvenir or spirit jersey you've been eyeing all day.
That flexible food policy, by the way, has some surprisingly deep roots. It all goes back to the park's chaotic opening day on July 17, 1955. A massive crowd of 28,000 guests completely overwhelmed the vendors, who ran out of food and drinks in a hurry. To make matters worse, a plumbers' strike meant none of the drinking fountains worked, making outside provisions a flat-out necessity and setting a precedent for the guest-friendly rules we still get to enjoy today. You can read more about the 70 surprising facts from Disneyland's opening day for a fascinating trip back in time.
Your Disney Daypack Checklist
To help you get packed like an absolute pro, we put together a simple checklist that’s all about efficiency and convenience.
For an even more detailed guide, don't miss our complete theme park packing list.
| Item Category | HYDAWAY Solution | Pro Tip |
|---|---|---|
| Hydration | 17oz or 25oz Collapsible Bottles | Keep bottles empty until after you pass security, then fill them up at the first water station you see inside the park. |
| Lunch & Meals | Insulated, Collapsible Food Bowls | Pack dense items like pasta salad on the bottom and lighter foods like sandwiches on top to prevent crushing. |
| Snacks | Small reusable bags or containers | Portion out snacks like trail mix, crackers, and sliced fruit into individual servings to make them easy to grab on the go. |
| Cooling | Reusable, slim ice packs | Place one ice pack at the bottom of your soft cooler and another on top of your food items for maximum cooling power. |
By following this simple system, you'll have everything you need for a delicious and affordable day at Disneyland. Your bag will start the day perfectly organized and end the day light and compact, leaving you totally free to focus on what matters—making memories.
Getting Through Security and Finding a Spot to Eat
You’ve packed the perfect Disneyland-approved lunch and snacks. Awesome! Now, how do you get it all through the gates and find a decent place to sit down and enjoy it?
Don't let the security checkpoint psych you out. A little bit of prep makes the whole process a breeze and starts your day on the right foot. The trick is to pack your bag so the Cast Members can get a quick, clear view of your food.
I always put my small cooler or food containers right on top of everything else in my backpack. This tiny step means they don't have to rummage through your sweatshirts and souvenirs, which gets you (and everyone behind you) on your way to Main Street, U.S.A. that much faster.
Here's my number one pro-tip for drinks: bring your reusable water bottles in empty. This makes your bag lighter for the walk from the parking garage and makes the security check super simple. A HYDAWAY collapsible bottle is my go-to for this—it squishes down flat, taking up almost no space until you're ready to fill it up.
Finding the Perfect Picnic Spot
Once you’re in, you don't have to resort to balancing a sandwich on your knee in a crowded walkway. Disneyland actually has some fantastic, quiet spots where you can sit down and have a proper meal break.
Just outside the main gates, nestled between Disneyland Park and Disney California Adventure, there's a dedicated picnic area. It’s shaded with plenty of tables, making it an ideal spot to regroup before diving back into the magic.
Want to stay inside the park walls? Here are a few of my favorite hidden gems for a food break:
- Tom Sawyer Island: Hop on a raft and escape to the island. It has shaded tables and feels like a genuine break from the park's hustle and bustle.
- Near "it's a small world": Grab a spot on the terraced seating that faces the attraction. It’s perfect for people-watching while you refuel.
- Hollywood Land in DCA: If you wander back into this area, you'll find plenty of quiet benches and tables that feel a world away from the crowds.
Staying Hydrated All Day Long
A long park day, especially on a sunny SoCal afternoon, requires a lot of water. Ditching expensive, single-use plastic bottles for a reusable one is a game-changer. Disneyland makes this incredibly easy.
Smart Strategy: As soon as you walk through the turnstiles, make a beeline for a water fountain or bottle-filling station. Fill up that empty HYDAWAY you brought, and you're good to go for the first few hours of your day.
You can find all the refill stations right on the official Disneyland app. Just pull up the map and set the filter to "Water Bottle Refill Stations." This simple habit will save you money, keep you refreshed, and make your whole park experience that much better. It's a small thing that makes a huge difference.
Frequently Asked Questions About Food at Disneyland
Alright, let's wrap things up with some quick answers to the questions we hear most often about Disneyland's food policy. Think of this as your final checklist to make sure you’re ready for a fantastic—and budget-friendly—day at the park.
Can I Use a Locker for My Cooler?
Yes, absolutely! This is one of the best park hacks if you don't want to lug your cooler around all day. You can rent a locker right outside the main entrance to Disneyland Park, and the larger ones are perfectly sized for most standard soft coolers that fit the park's dimension rules.
It's a game-changer for families. Pack a real-deal lunch, stash it in a locker when you arrive, and then just grab it when everyone's hungry. You can enjoy your meal at the picnic area nearby without the hassle.
Is There a Limit on How Much Food I Can Bring?
Disneyland is pretty reasonable about this—they don't set a specific pound-for-pound limit. The official rule of thumb is that any food you bring should be for "personal consumption" and not look like you're setting up a catering business.
For a typical family, this just means packing enough snacks, drinks, and meals to get your group through the day is totally fine.
How Do I Find Water Refill Stations?
The easiest way, by far, is using the official Disneyland mobile app. Just pop open the park map, tap the filter option, and look for "Guest Services." From there, you can select "Water Bottle Refill Stations."
This will instantly show you every single station in both parks. It makes refilling your HYDAWAY collapsible bottle a breeze so you can stay hydrated without constantly buying new drinks.
Pro Tip: If you accidentally bring something that isn't allowed, like a glass jar of baby food, don't panic! You can either run it back to your car or hotel, or just ask Guest Relations if they can hold onto it for you at the entrance.
A little bit of planning goes a long way and can seriously improve your whole park experience. For more ideas on keeping your Disney trip affordable, be sure to check out our guide on how to save money at Disneyland.
Ready to pack smarter for your next adventure? The HYDAWAY collection of collapsible, space-saving bowls and bottles makes it easy to bring your own food and drinks anywhere. Visit https://myhydaway.com to gear up for your magical day.


